In search of the simplest all-in-one blade sharpener
Lost in the confusing world of sharpening led me to finally create my own method
October 11, 2024
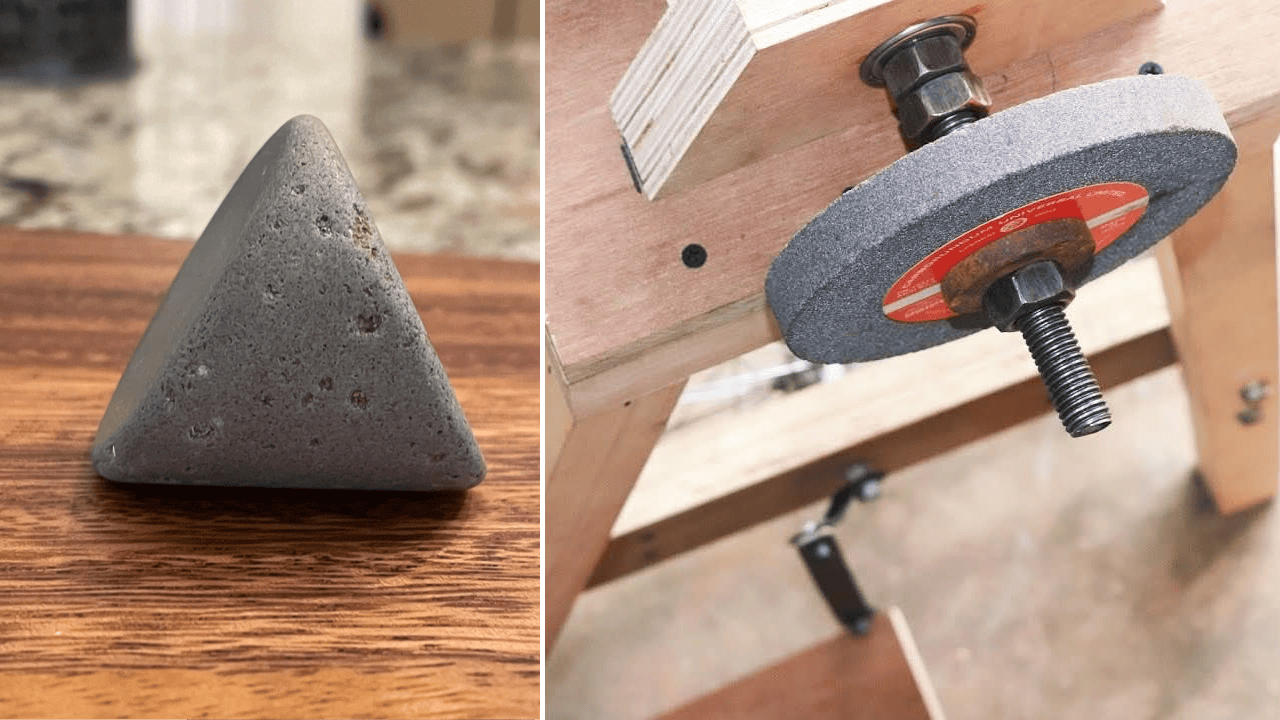
When I started wood carving, the only sharpening method I remembered was from seeing my mother use some kind of smooth broken stone that she passed over the length of the knife blade before sacrificing a chicken.
I also remember seeing my father use a very coarse stone wheel placed on a motor shaft which threw many sparks when he sharpened some large axe for splitting wood.
I had neither of those around anymore in my rented place in the city so I jumped headfirst in the mind numbing and sometimes esoteric art of getting a sharp blade.
# Carving knives
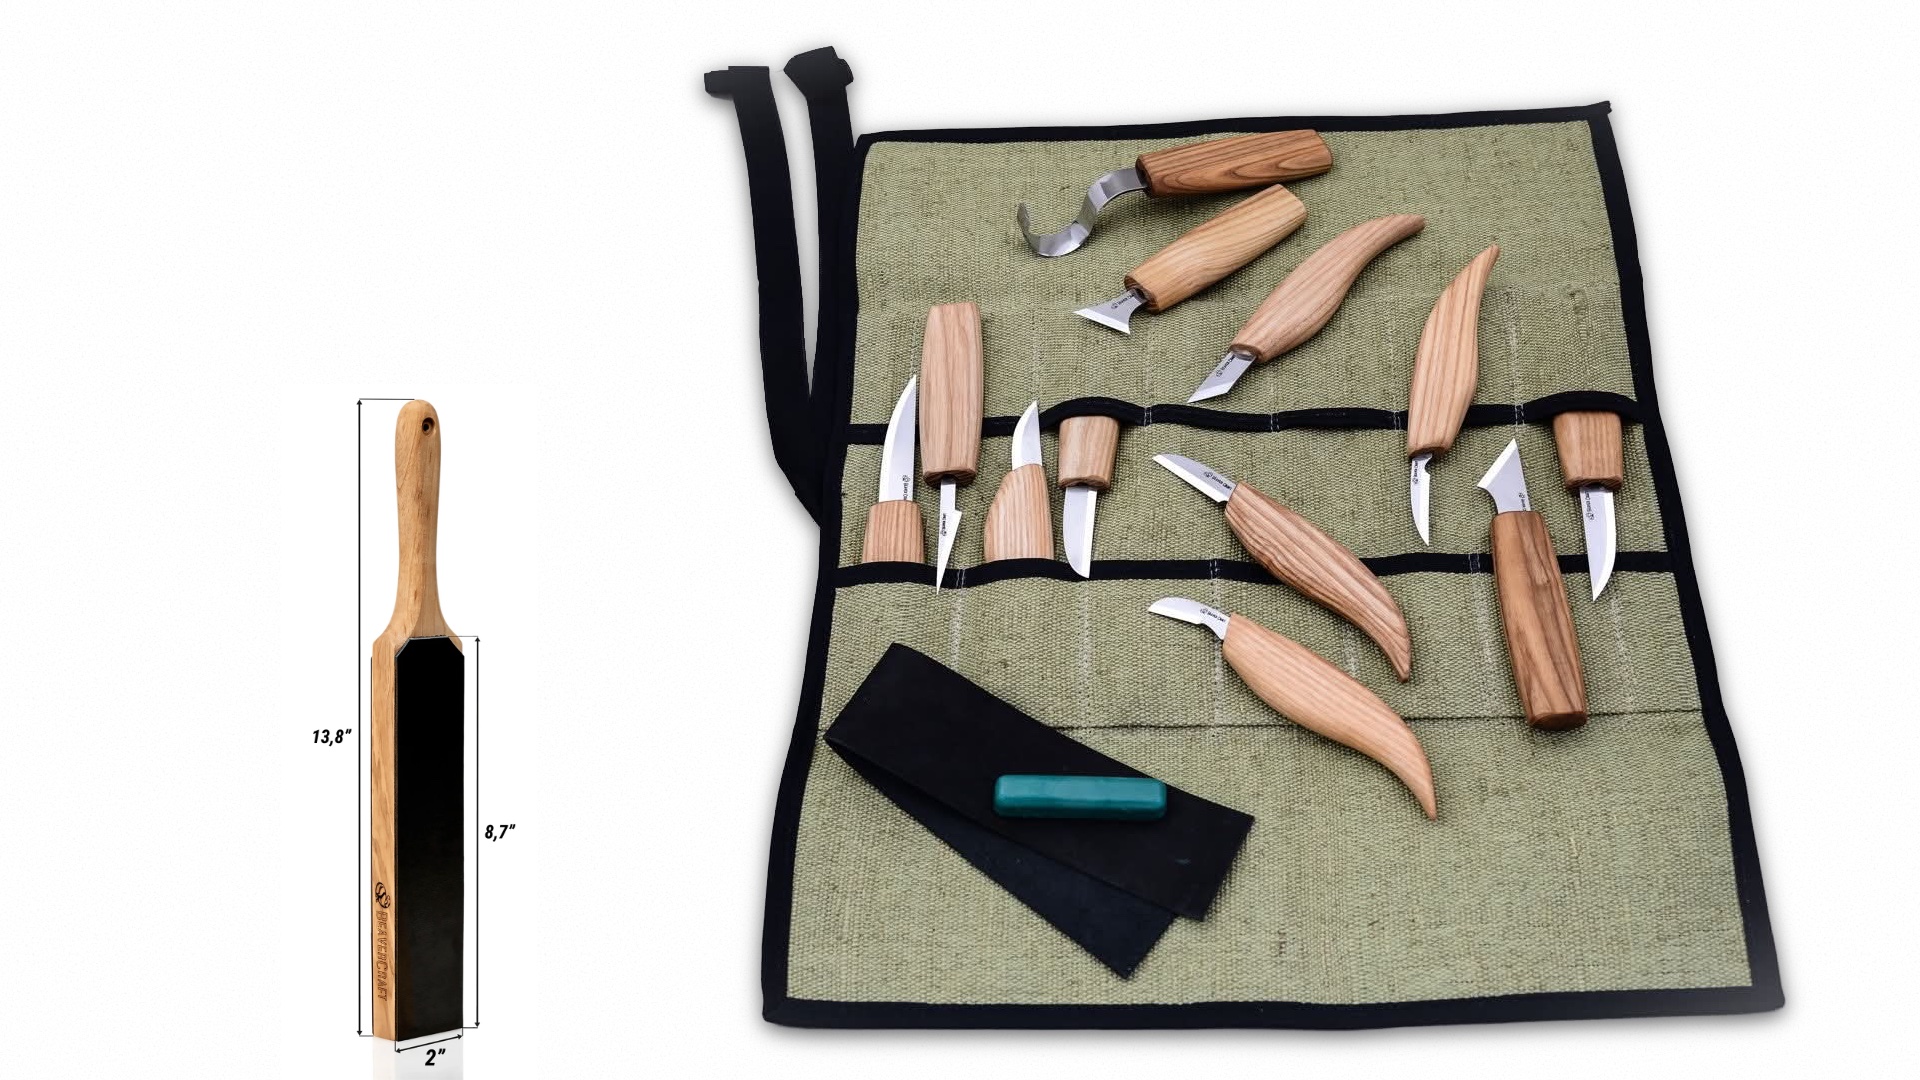
The first blade type I had to sharpen was for my BeaverCraft carving knives.
They fortunately came with a strop, basically a plywood base in the form of a paddle, with leather stuck to it on both sides, and a green waxy bar. Unfortunately I had no idea what to do with it.
Stropping is, at the most basic level, dragging the blade back and forth on a semi-hard surface (like leather). Clean leather won’t make your blade sharper though, and that’s why you have that green bar which you need to rub onto the leather. It contains a fine abrasive that slowly removes tiny amounts of steel from the very tip of your blade to make it sharper.
Reading about stropping and watching videos about it gets into a lot of debate on:
- how often to strop
- on what angle should the blade be held on the leather
- should you move from the heel of the blade to the tip, or the reverse
- can you strop too much and round the apex
- what is the green compound for and how should it be applied
And so on. It’s hard to find much exact science on this, everyone figures it out as they go, and experts share their beliefs based on their extensive experience.
I settled on stropping after every 15 minutes of constant carving, but I had no idea what I was doing or if I got any result.
That’s one thing I learned that would have relieved me of much frustration at the start: find a way to test the outcome of your motions, otherwise you’ll just keep repeating things that don’t work
And it also applies to programming: so many times I’ve seen colleagues writing code but with fear and uncertainty as they didn’t know that what they did would have the expected result. And only because they didn’t know how to test how the code would work.
For example they were backend programmers, that only knew how to run their backend
pythonserver, but had no idea how to run the whole stack to check if the front end did work correctly with their changes.
Or app devs who didn’t know how to use a local database, and instead always feared release day because of how their changes will impact the production db.
Nowadays I know how to test for sharpness.
If I want a basic working blade I test if the knife cuts printer paper easily and without tearing it. If I want a carving blade, I check if it pops hairs off my arm easily. And I check that often so I don’t do hundreds of blade passes for nothing.
Anyway, back to my carving knives. For a long time I did a pretty bad job at keeping them sharp.
I would carve for a while then feel the need to push too much into the blade or get tear out in the wood, then I would move the blade back and forth on the strop a few dozens of times, then getting back to carving I would notice a slight improvement which went away after just a few cuts, then back to stropping a thousand times for nothing.
Stropping is not sharpening, and after so many cuts those blades needed serious sharpening which a piece of leather doesn’t do.
Well, actually, stropping is sharpening, but it’s a very very fine kind of sharpening. It’s similar to using a super fine grit stone, something between 14000 and 100000 grit.
The green paste is a super fine abrasive that does remove metal from the apex of the blade, but so little at a time that I would need to do thousands of passes to get the same result that a coarse grit sharpening stone would do in a few passes.
I started looking into sharpeners, and because “stones” felt like something old which only my mother used because she didn’t have any better method, I would look into “modern” sharpeners like:
- pull-through V-blades
- honing rods
- powered belt grinders
- precision sharpening rigs
- rolling sharpeners
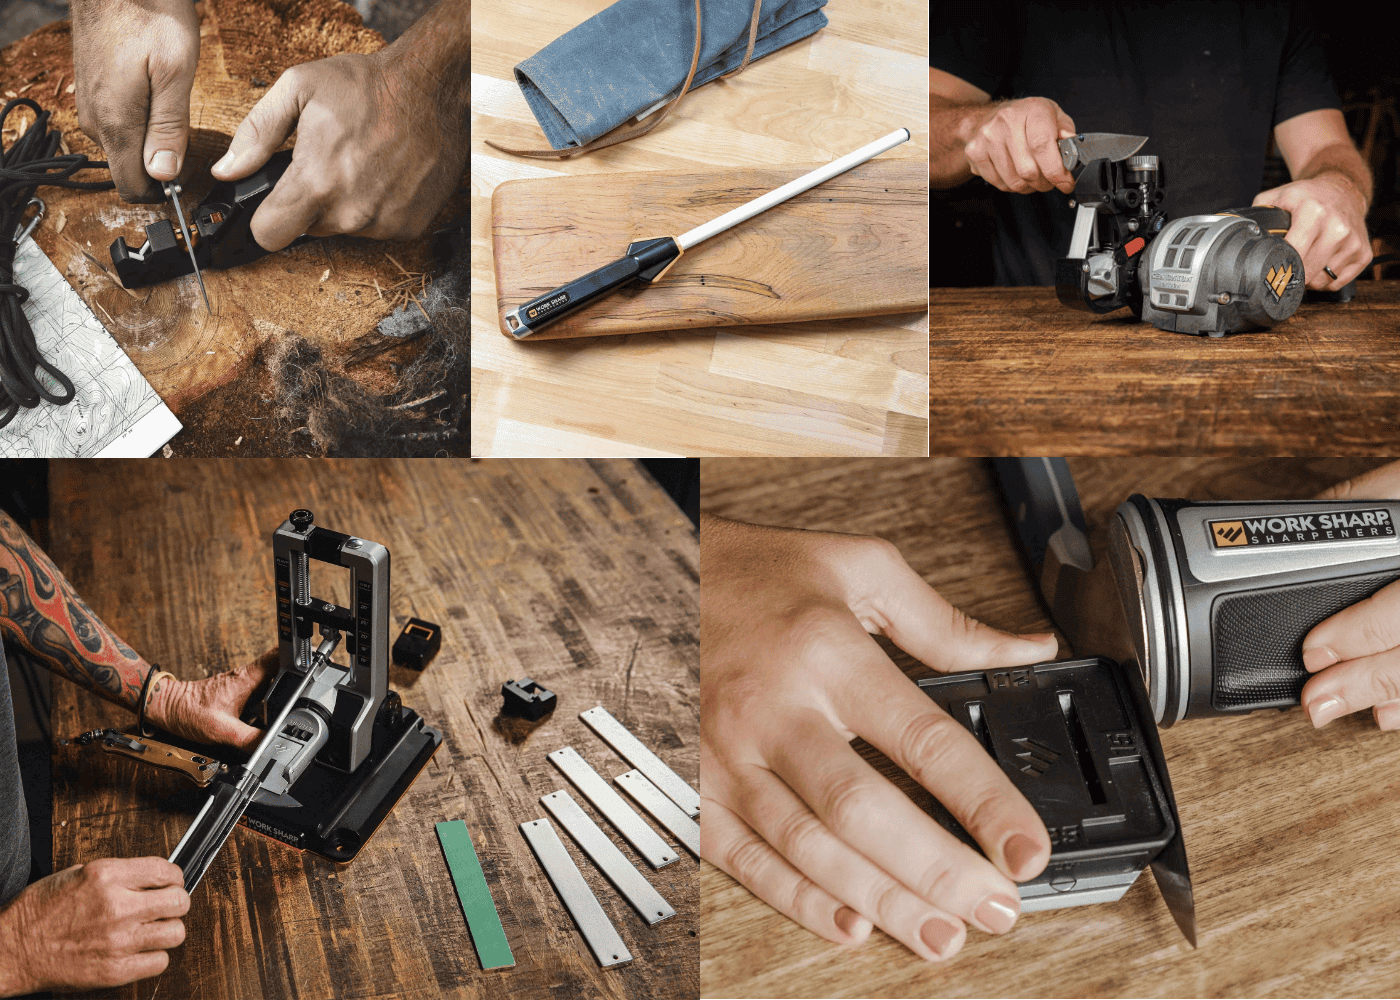
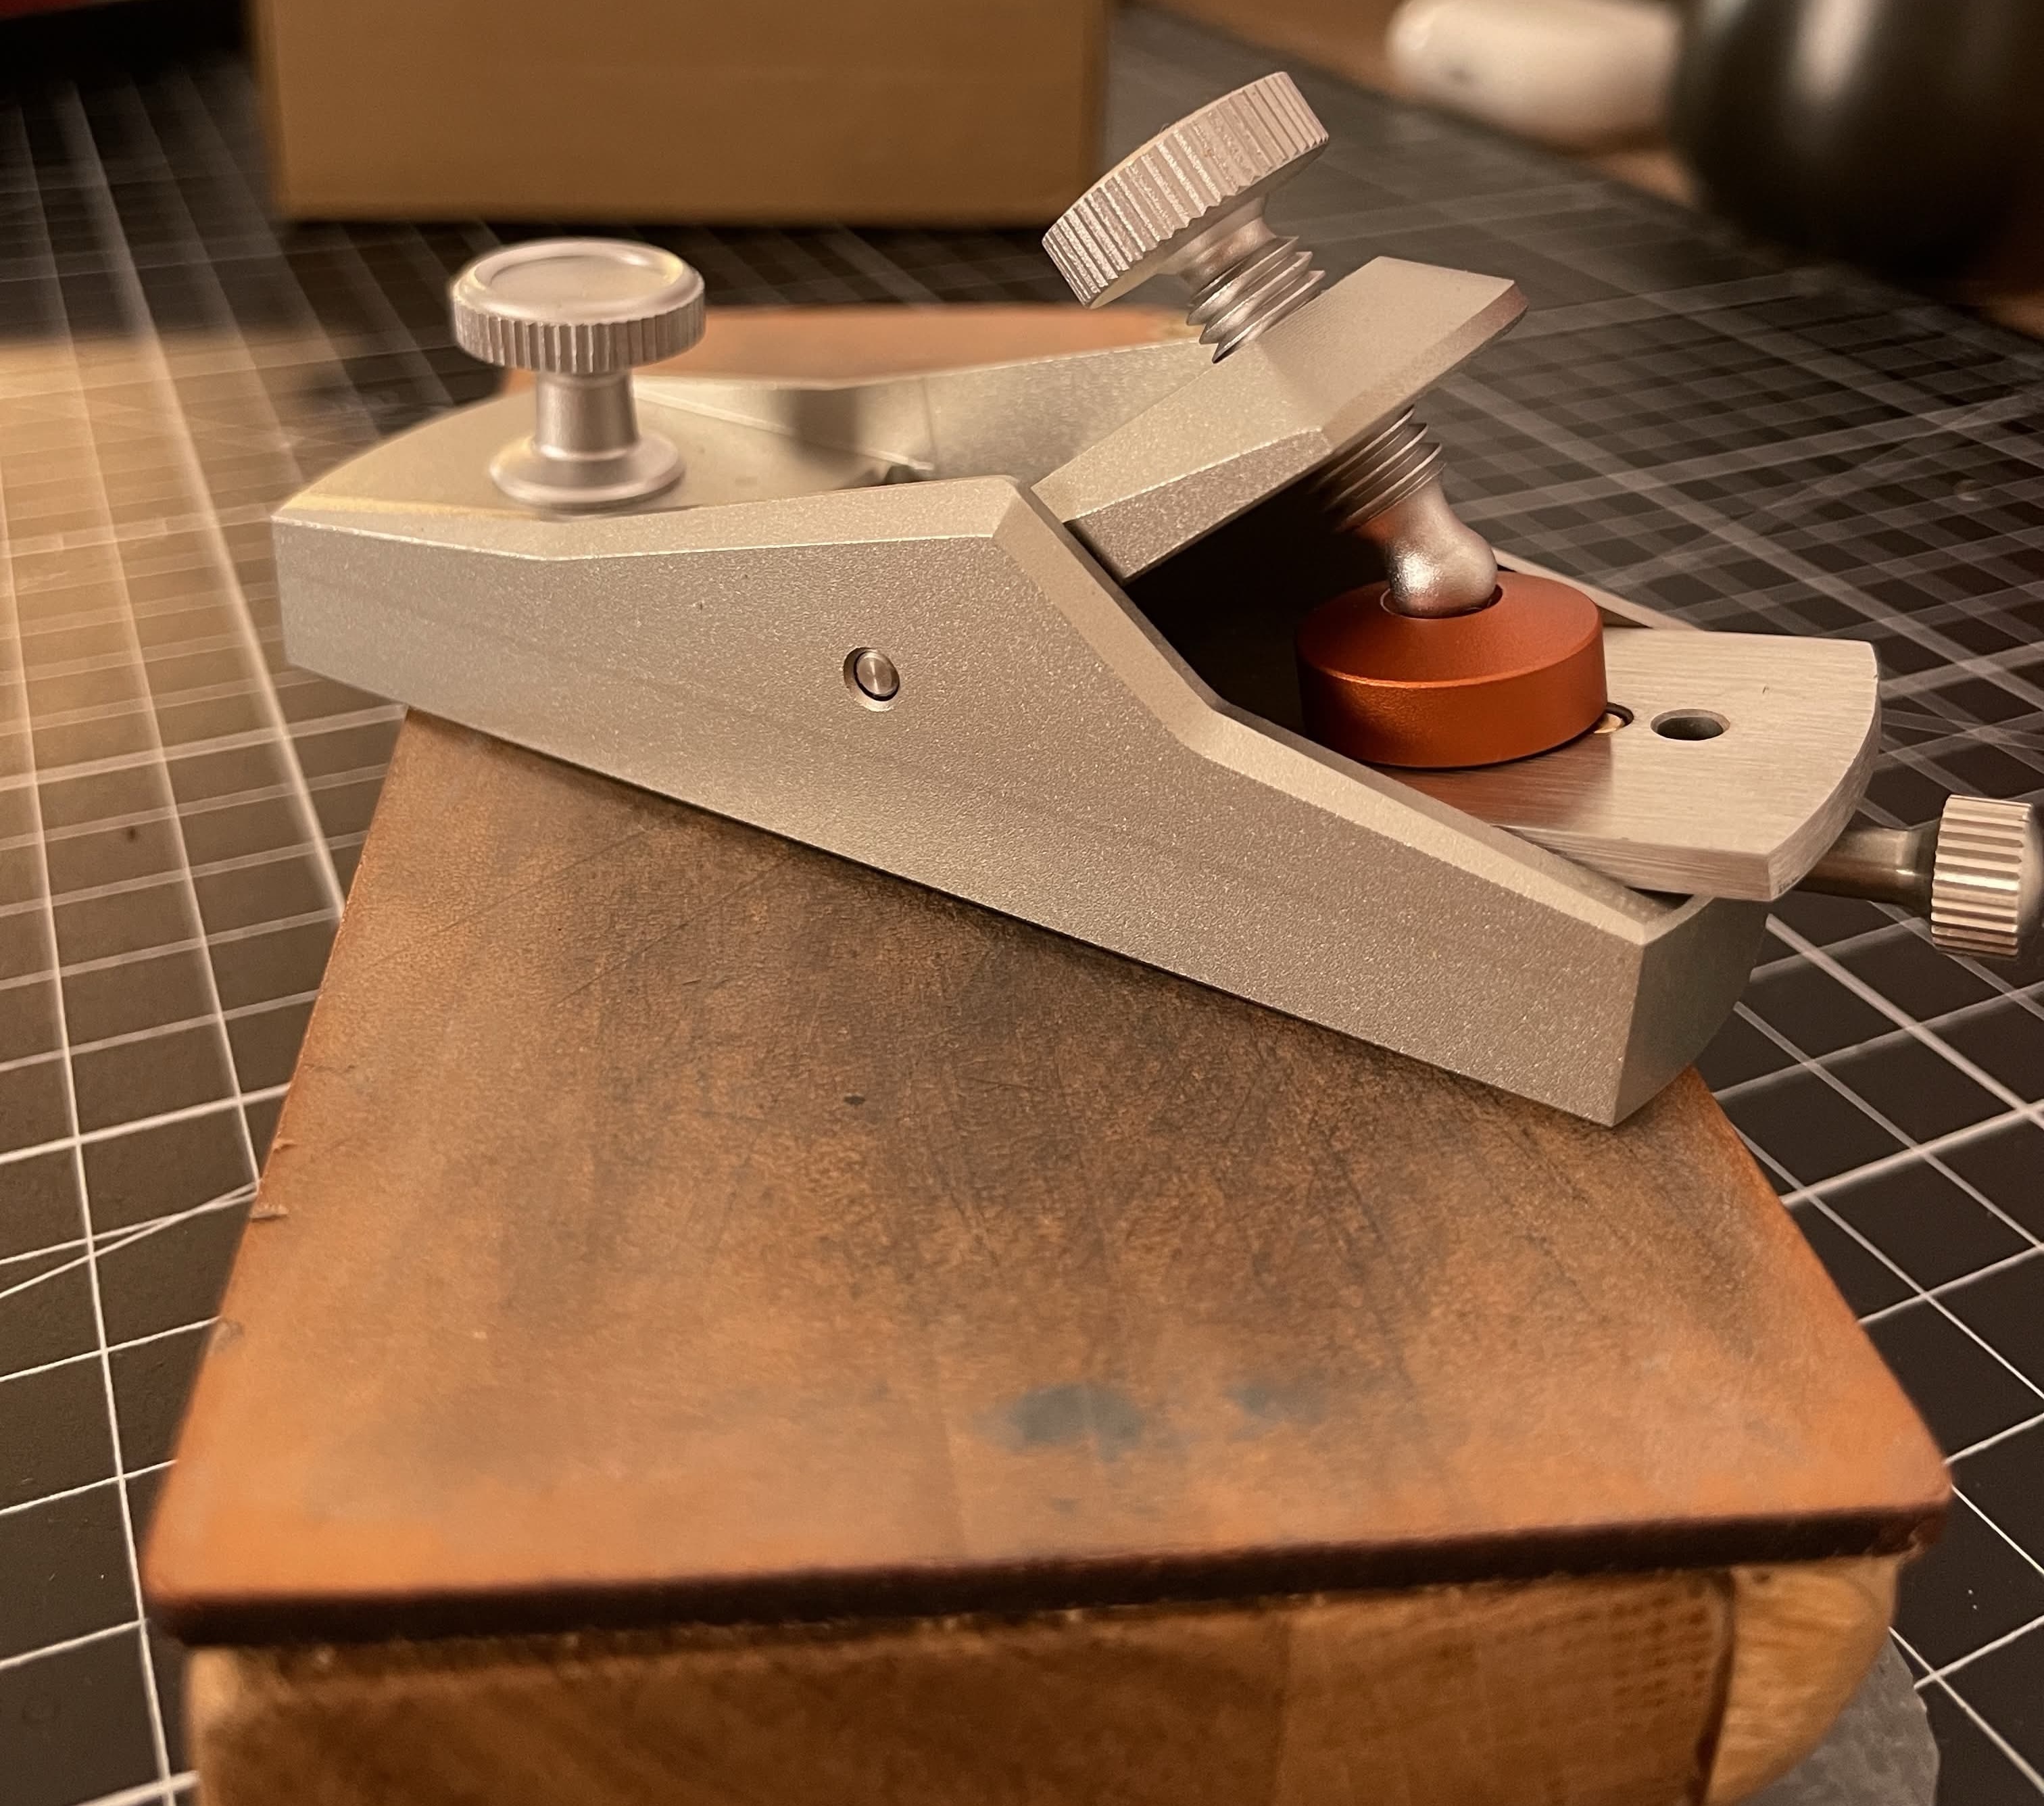
I tried a few of those expensive methods, ruined a few blades with them, wasted days on reading reviews and watching tutorials… none of those methods felt like a deterministic way to get a sharp blade every time.
The precision sharpening rig is probably the closest to that, but I don’t want to waste precious workbench space on that. Also, I can’t take it with me when traveling.
# Wood planes and chisels
Once I got into larger projects, I discovered how to use wood planes (which seems to be thought of as an antiquated method in Romania, manual woodworking is dead here). I also discovered they need frequent sharpening and their blade shape seemed to be perfect for using a flat surface sharpening method like, you know, a stone.
Every woodworker on YouTube showed how to sharpen planes on stones so I thought I should probably get one eventually. But which type?
There are whetstones, natural stones, ceramic stones, oiled stones, diamond stones, you name it.
After trying a ceramic stone which needed to be soaked in water for 5 minutes before doing any sharpening, and constantly wetted between every few passes, and after making a wet mess and chipping the stone and dreading to sharpen because I had to keep the stone in water, I started looking into drier methods.
Diamond stones seemed to be more up my alley: a modern method based on an old, tried and true idea.
Whetstones and oiled stones are great as well, I just wanted something with less maintenance and more resistant to abuse.
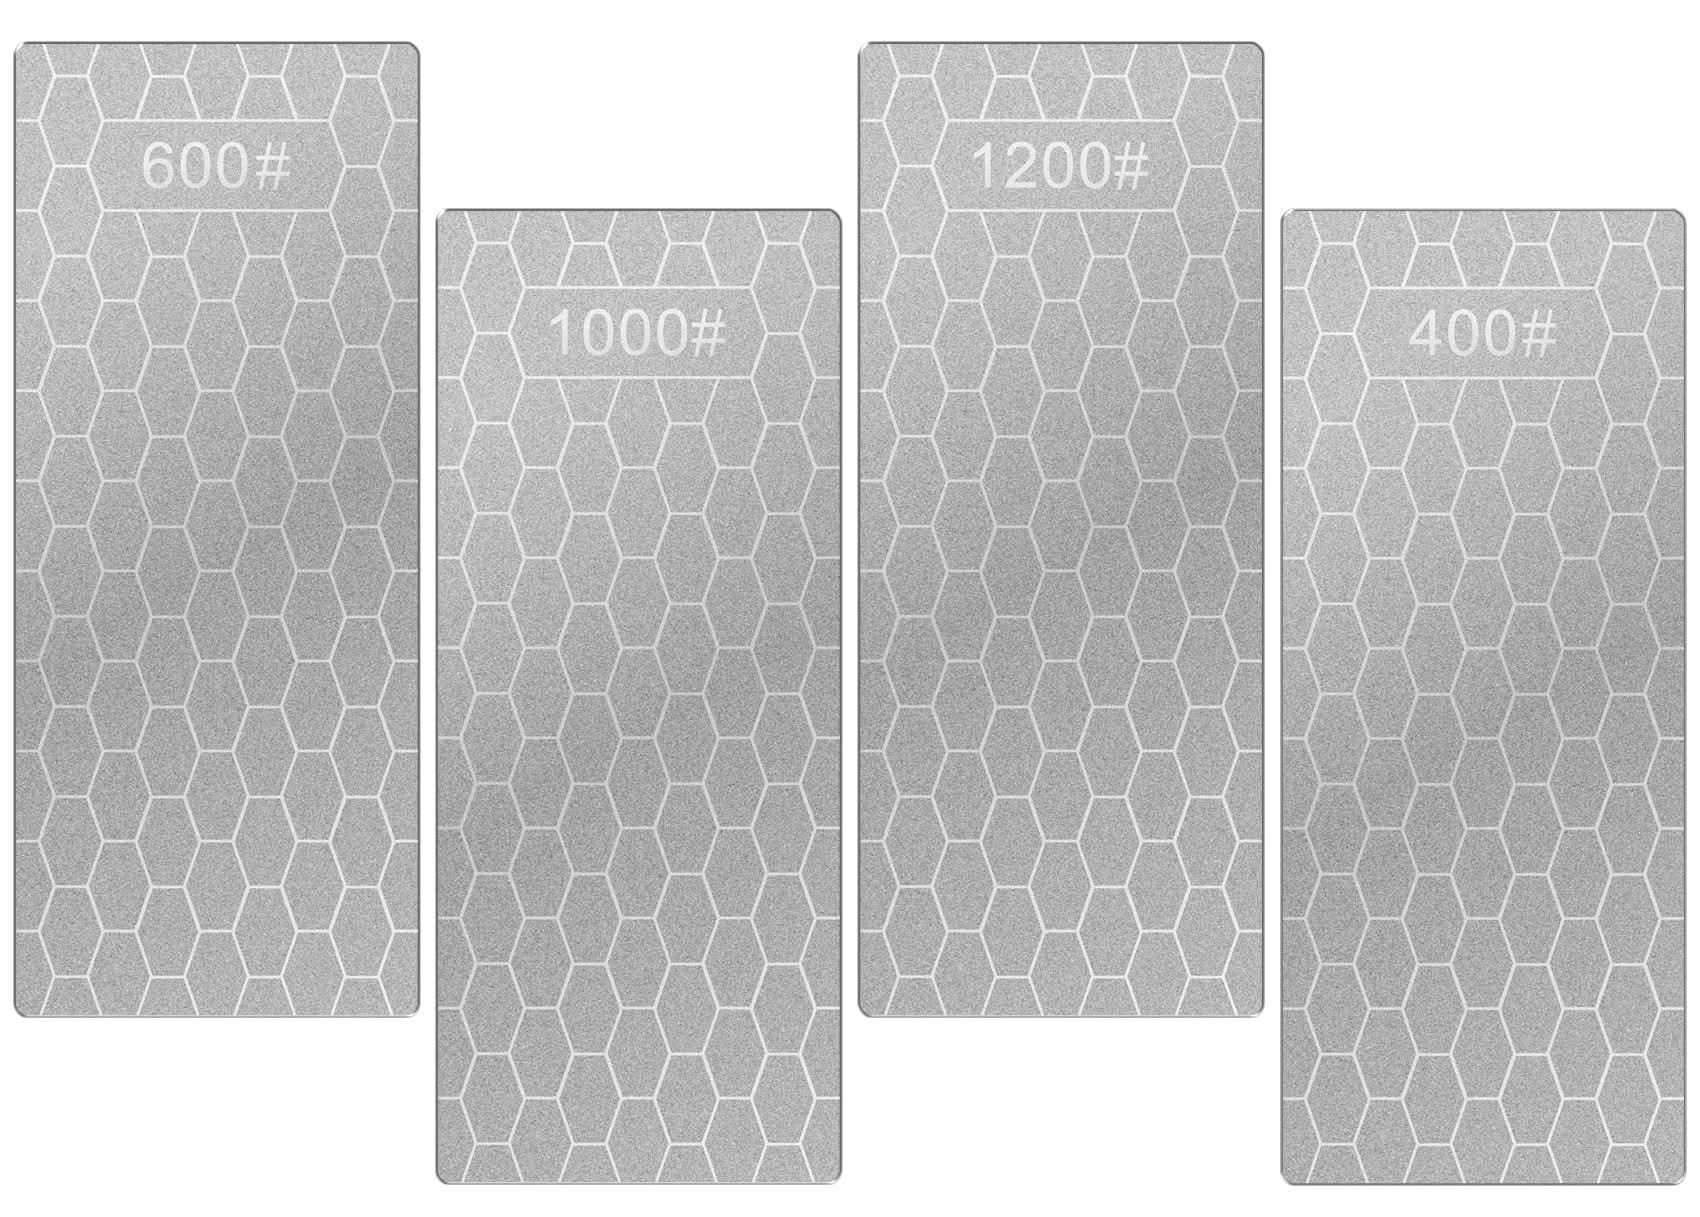
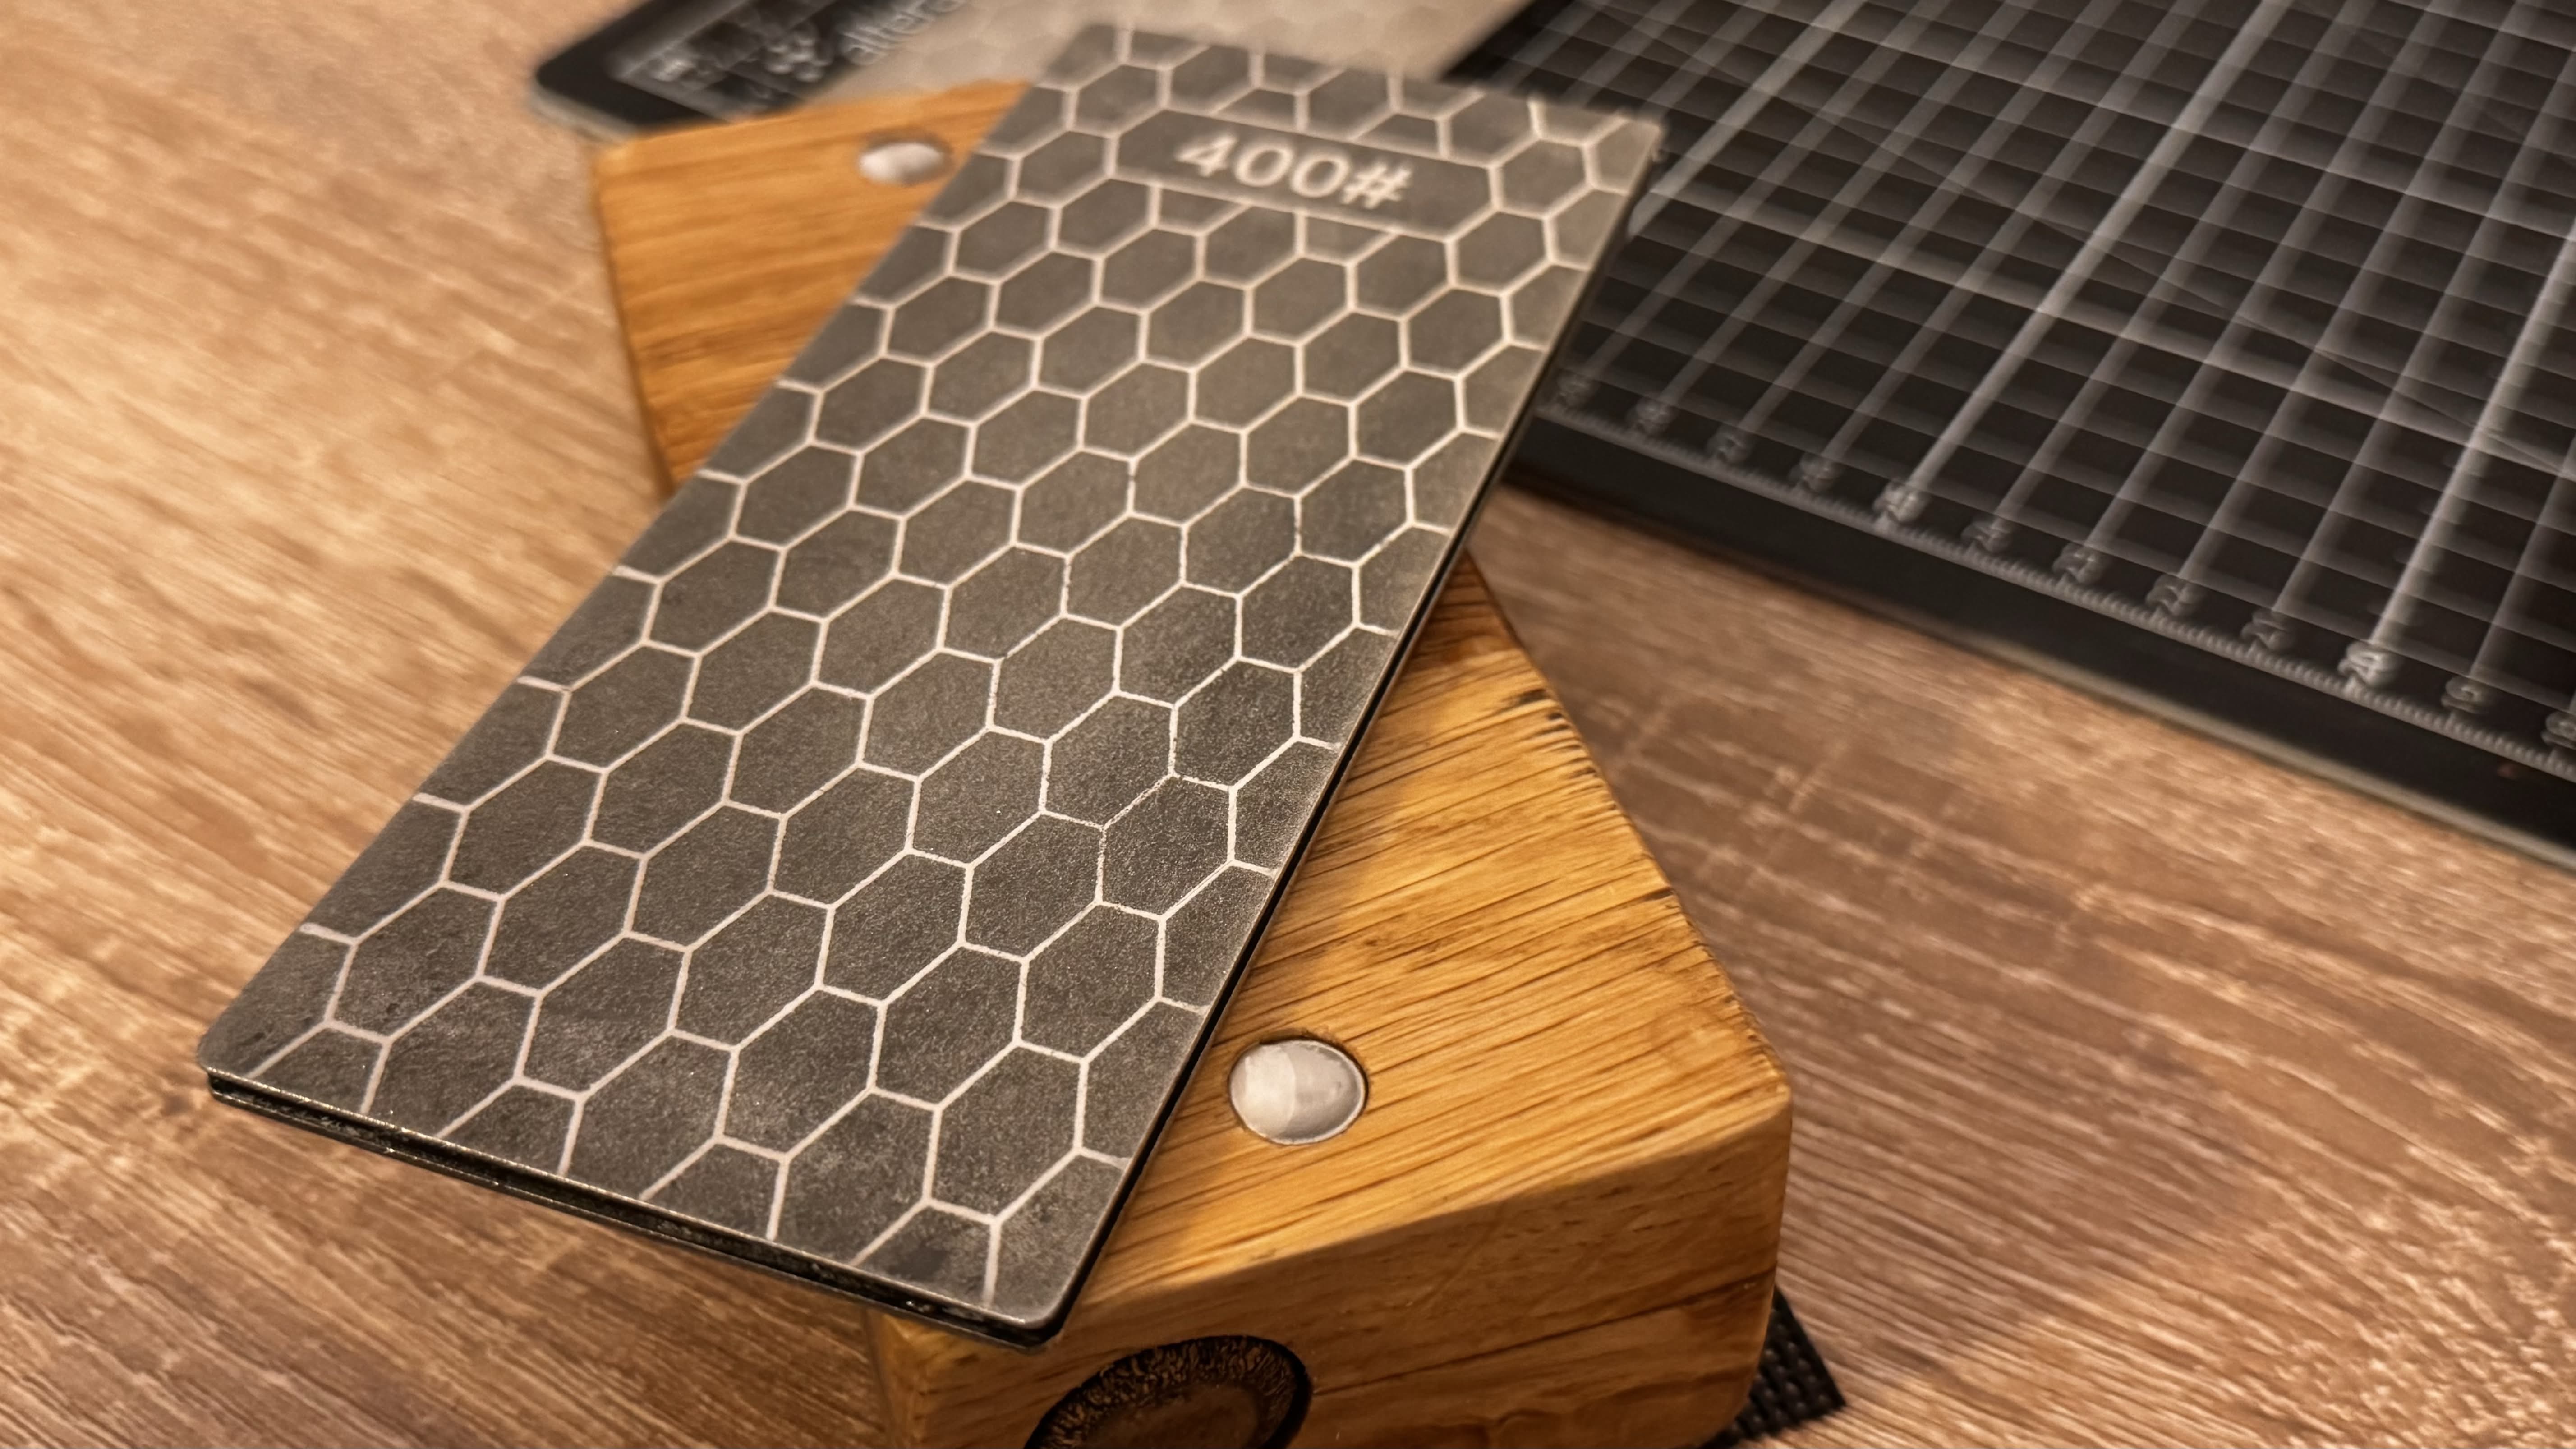
At this point I got sick of wasting money on this hobby, so I got the cheapest set of Chinese diamond plates online. It came in a set of 4 thin steel plates with foam backing, each plate having a different grit: 400, 600, 1000 and 1200. Let’s not get into grit standards, it’s probably FEPA but who knows.
And what do you know, it worked, it was easy to use, cheap and no special instructions needed.
I also got lucky in finding out about the OUTDOORS55 YouTube channel and the science of sharp website who do microscope analysis of blades and methods of sharpening.
They’re getting as close as possible to actually knowing what the heck happens when you move the blade on top of a stone, leather, denim or any type of material people have tried sharpening on.
This helped me cut through the bullshit fast and get to a simple working method of getting any blade from rusty to shaving sharp in a few minutes.
# My own sharpening blocks
At this point I had these diamond plates scattered on my workbench, I had a leather strop, a green stropping compound bar that painted my fingers green every time I used it, a round diamond file for my hook knives (because you can’t sharpen the inside of curved blades on a flat stone) and a piece of flexible leather for stropping those hook knives.
It worked, but it was a mess. And I also work on the go a lot, I always do some wood project at my parents house, carve some branch at a walk in the woods or need to sharpen both a kitchen knife indoors and a chisel outdoors. I wanted to simplify this, but could not find any ready made product I wanted.
So I got to doing what I know best, half-assing an improvised product that works for me but would be ashamed of showing it to anyone.
# First iteration
I cut a piece of 18mm thick beech wood into the shape and size of a diamond plate, then stuck a 600 grit plate on one side, and the leather on the other side.
This not only got the stone and strop higher up from the table which helped a lot with sharpening long knives, but also put them in the same package which I could carry with me.
I called this a sharpening block in my mind.
To keep the block from slipping while I moved the blade over it, I cut a piece from a non-slip silicone baking mat. Even the small pressure of the blade makes the silicone adhere well to both the block and whatever surface it’s sitting on.
I still didn’t know what to do if I needed a coarser/finer grit, what to do about the green waxy mess of the stropping compound, and how to carry the hook knife sharpeners.
# Second iteration
This summer, my sister-in-law visited from Italy and asked if I could make a coffee table for her. Timing was tight because I had to make it in a week so she could transport it from Romania back to Italy by car.
I had no time to find wood slabs so I got two oak wood panels from a big-box store, glued them one on top of the other to make the table-top thicker, and figured I’ll find some table legs afterwards.
I found some 15cm diameter smooth beech logs at a firewood seller nearby. Turns out they were leftovers from a veneer factory that can take a really long and thin log slice automatically, leaving the log core as smooth as a turned piece.
The table turned out pretty nice and solid, her children love sitting on top of it or hiding under it with their toys. I guess it could also be used for holding coffee cups, they didn’t get a chance to try that yet.
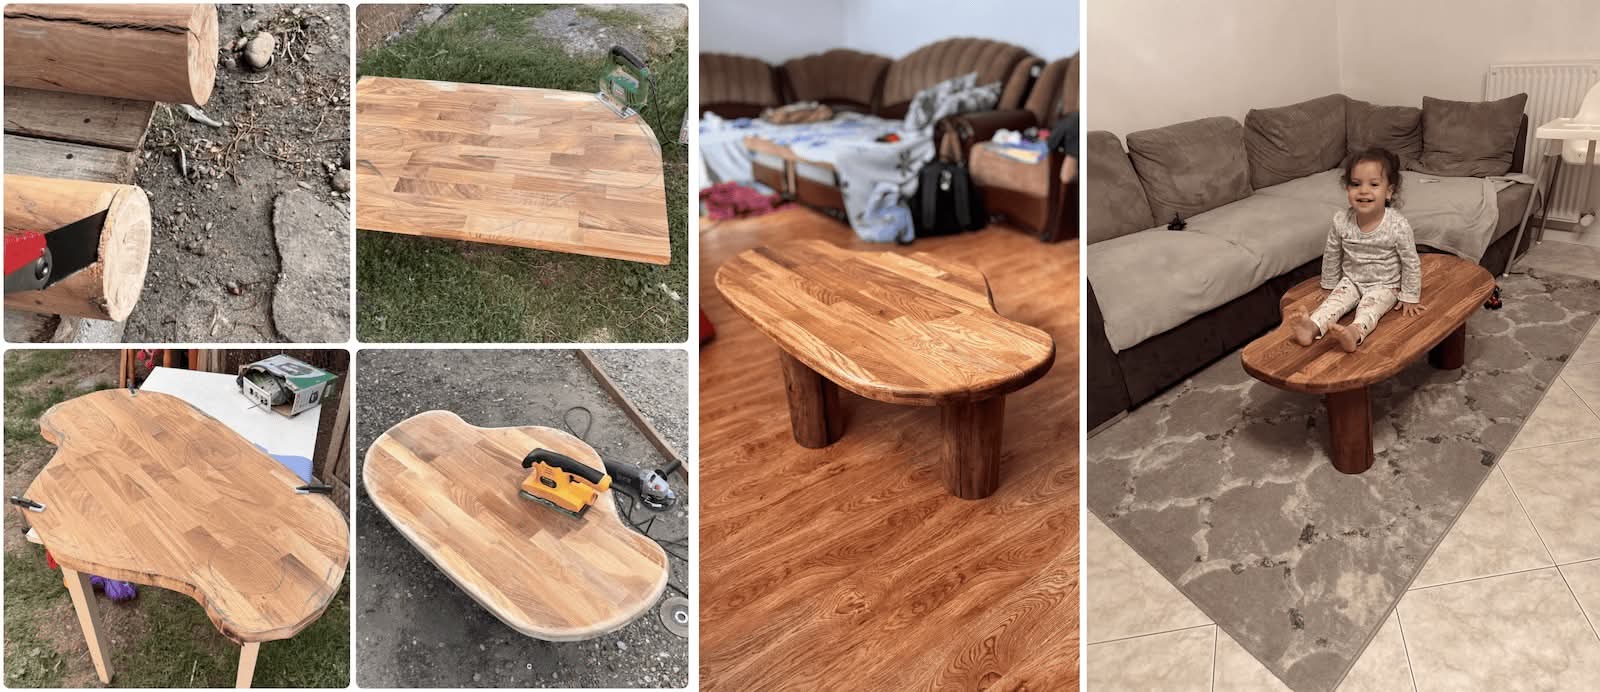
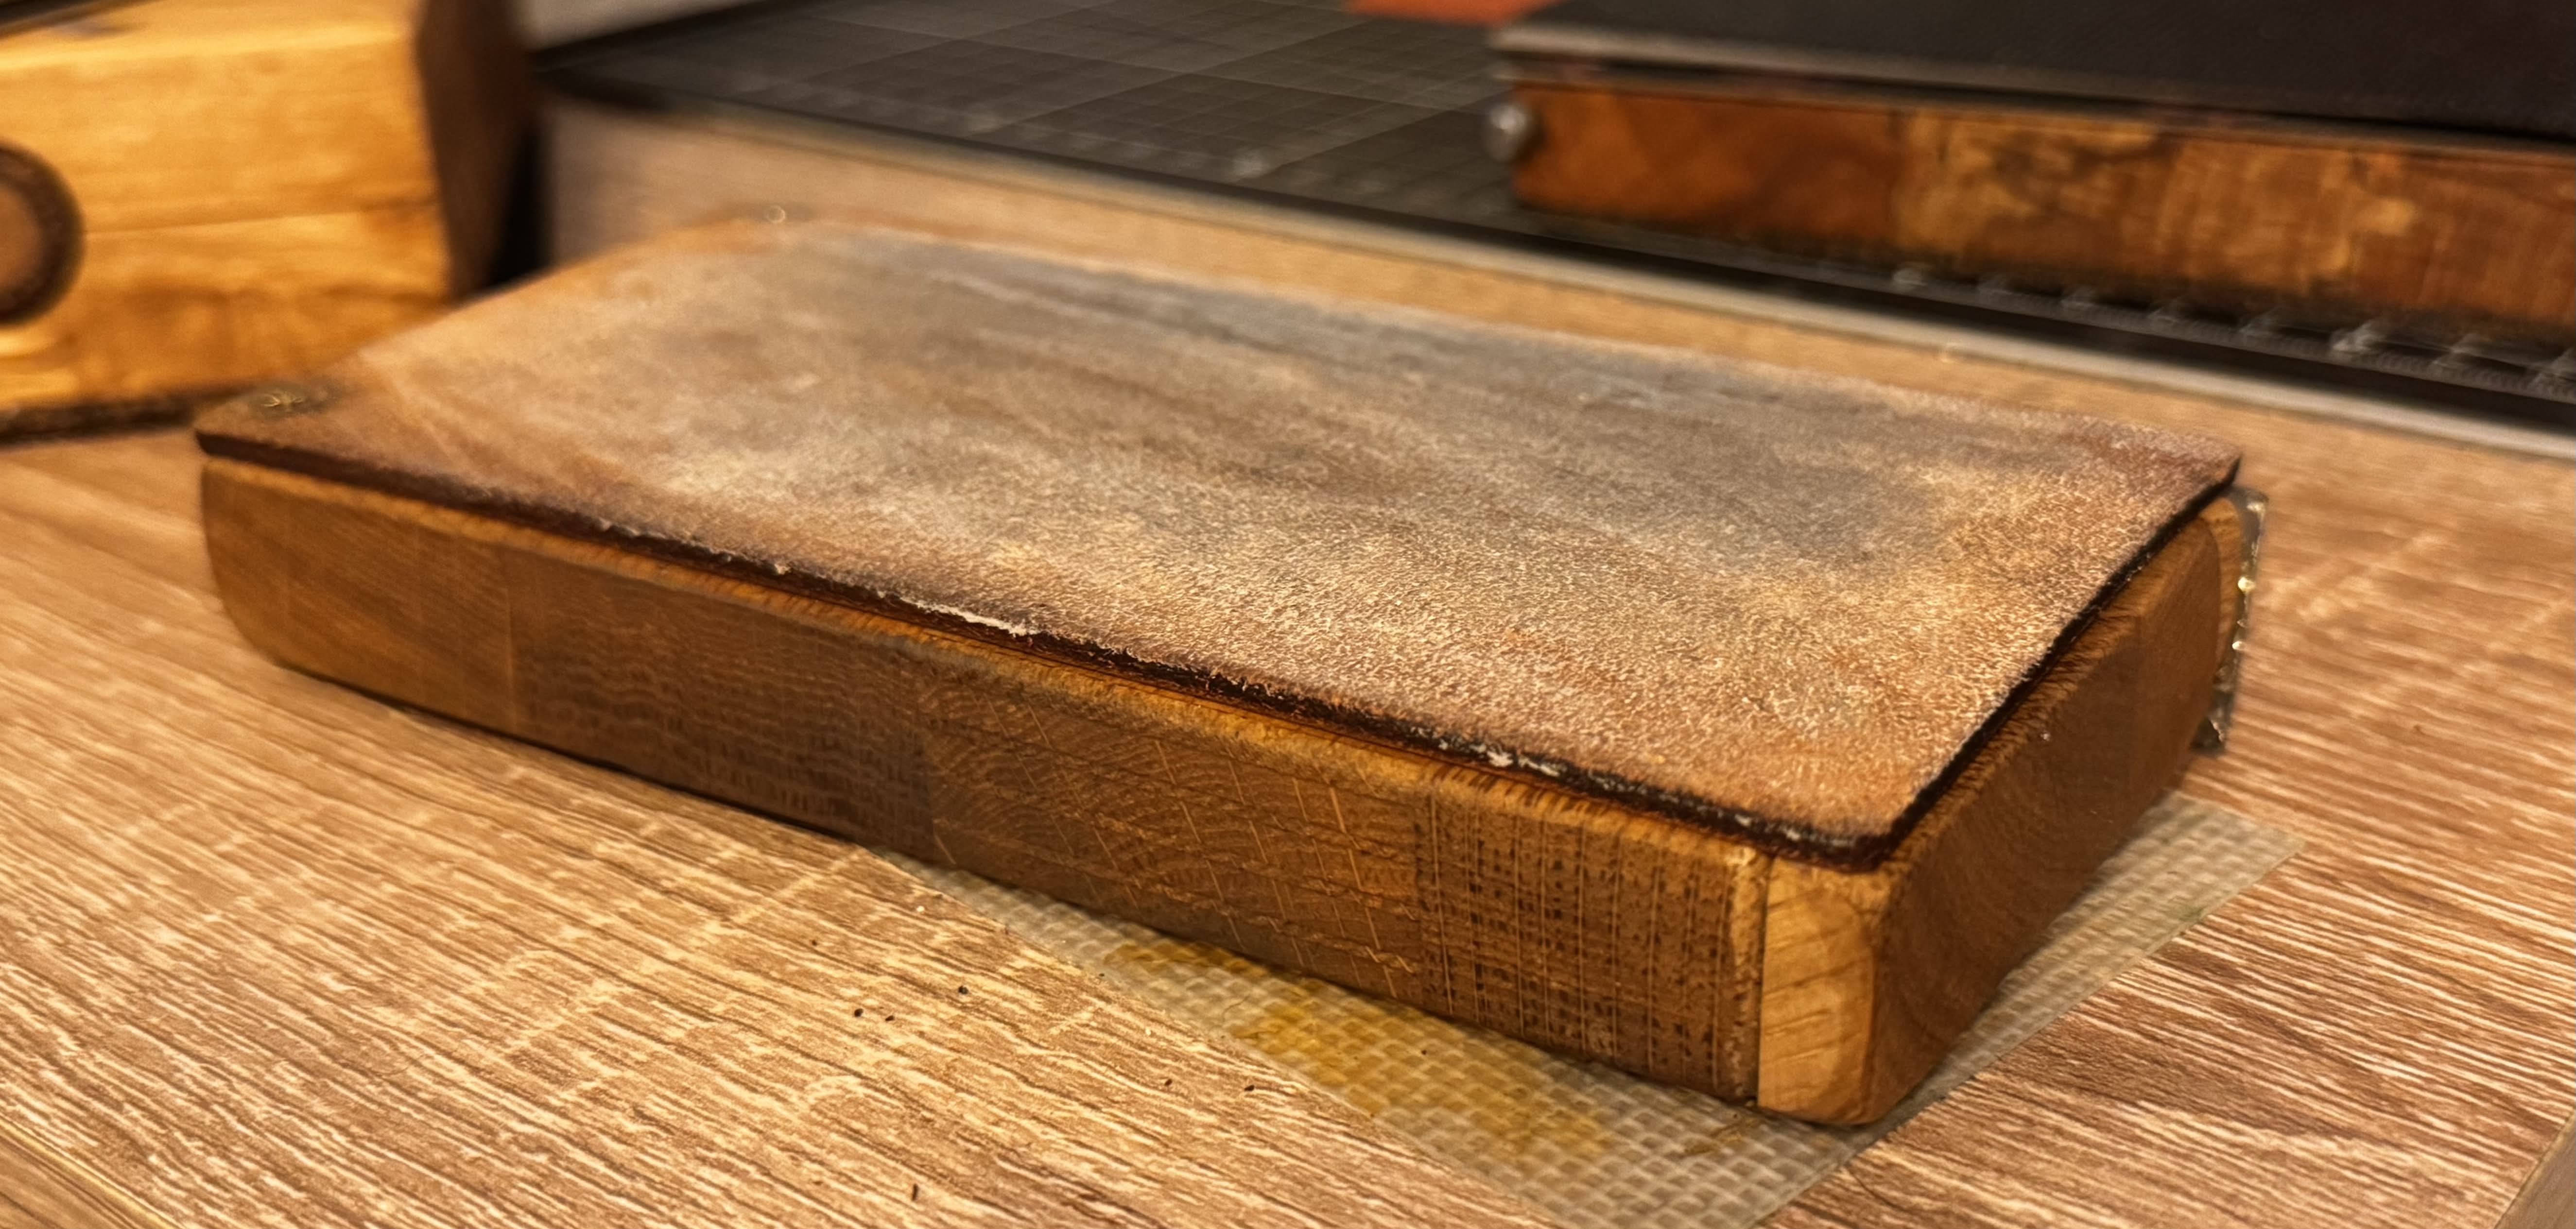
So this left me with some 36mm thick oak wood that I thought could make for a better sharpening block.
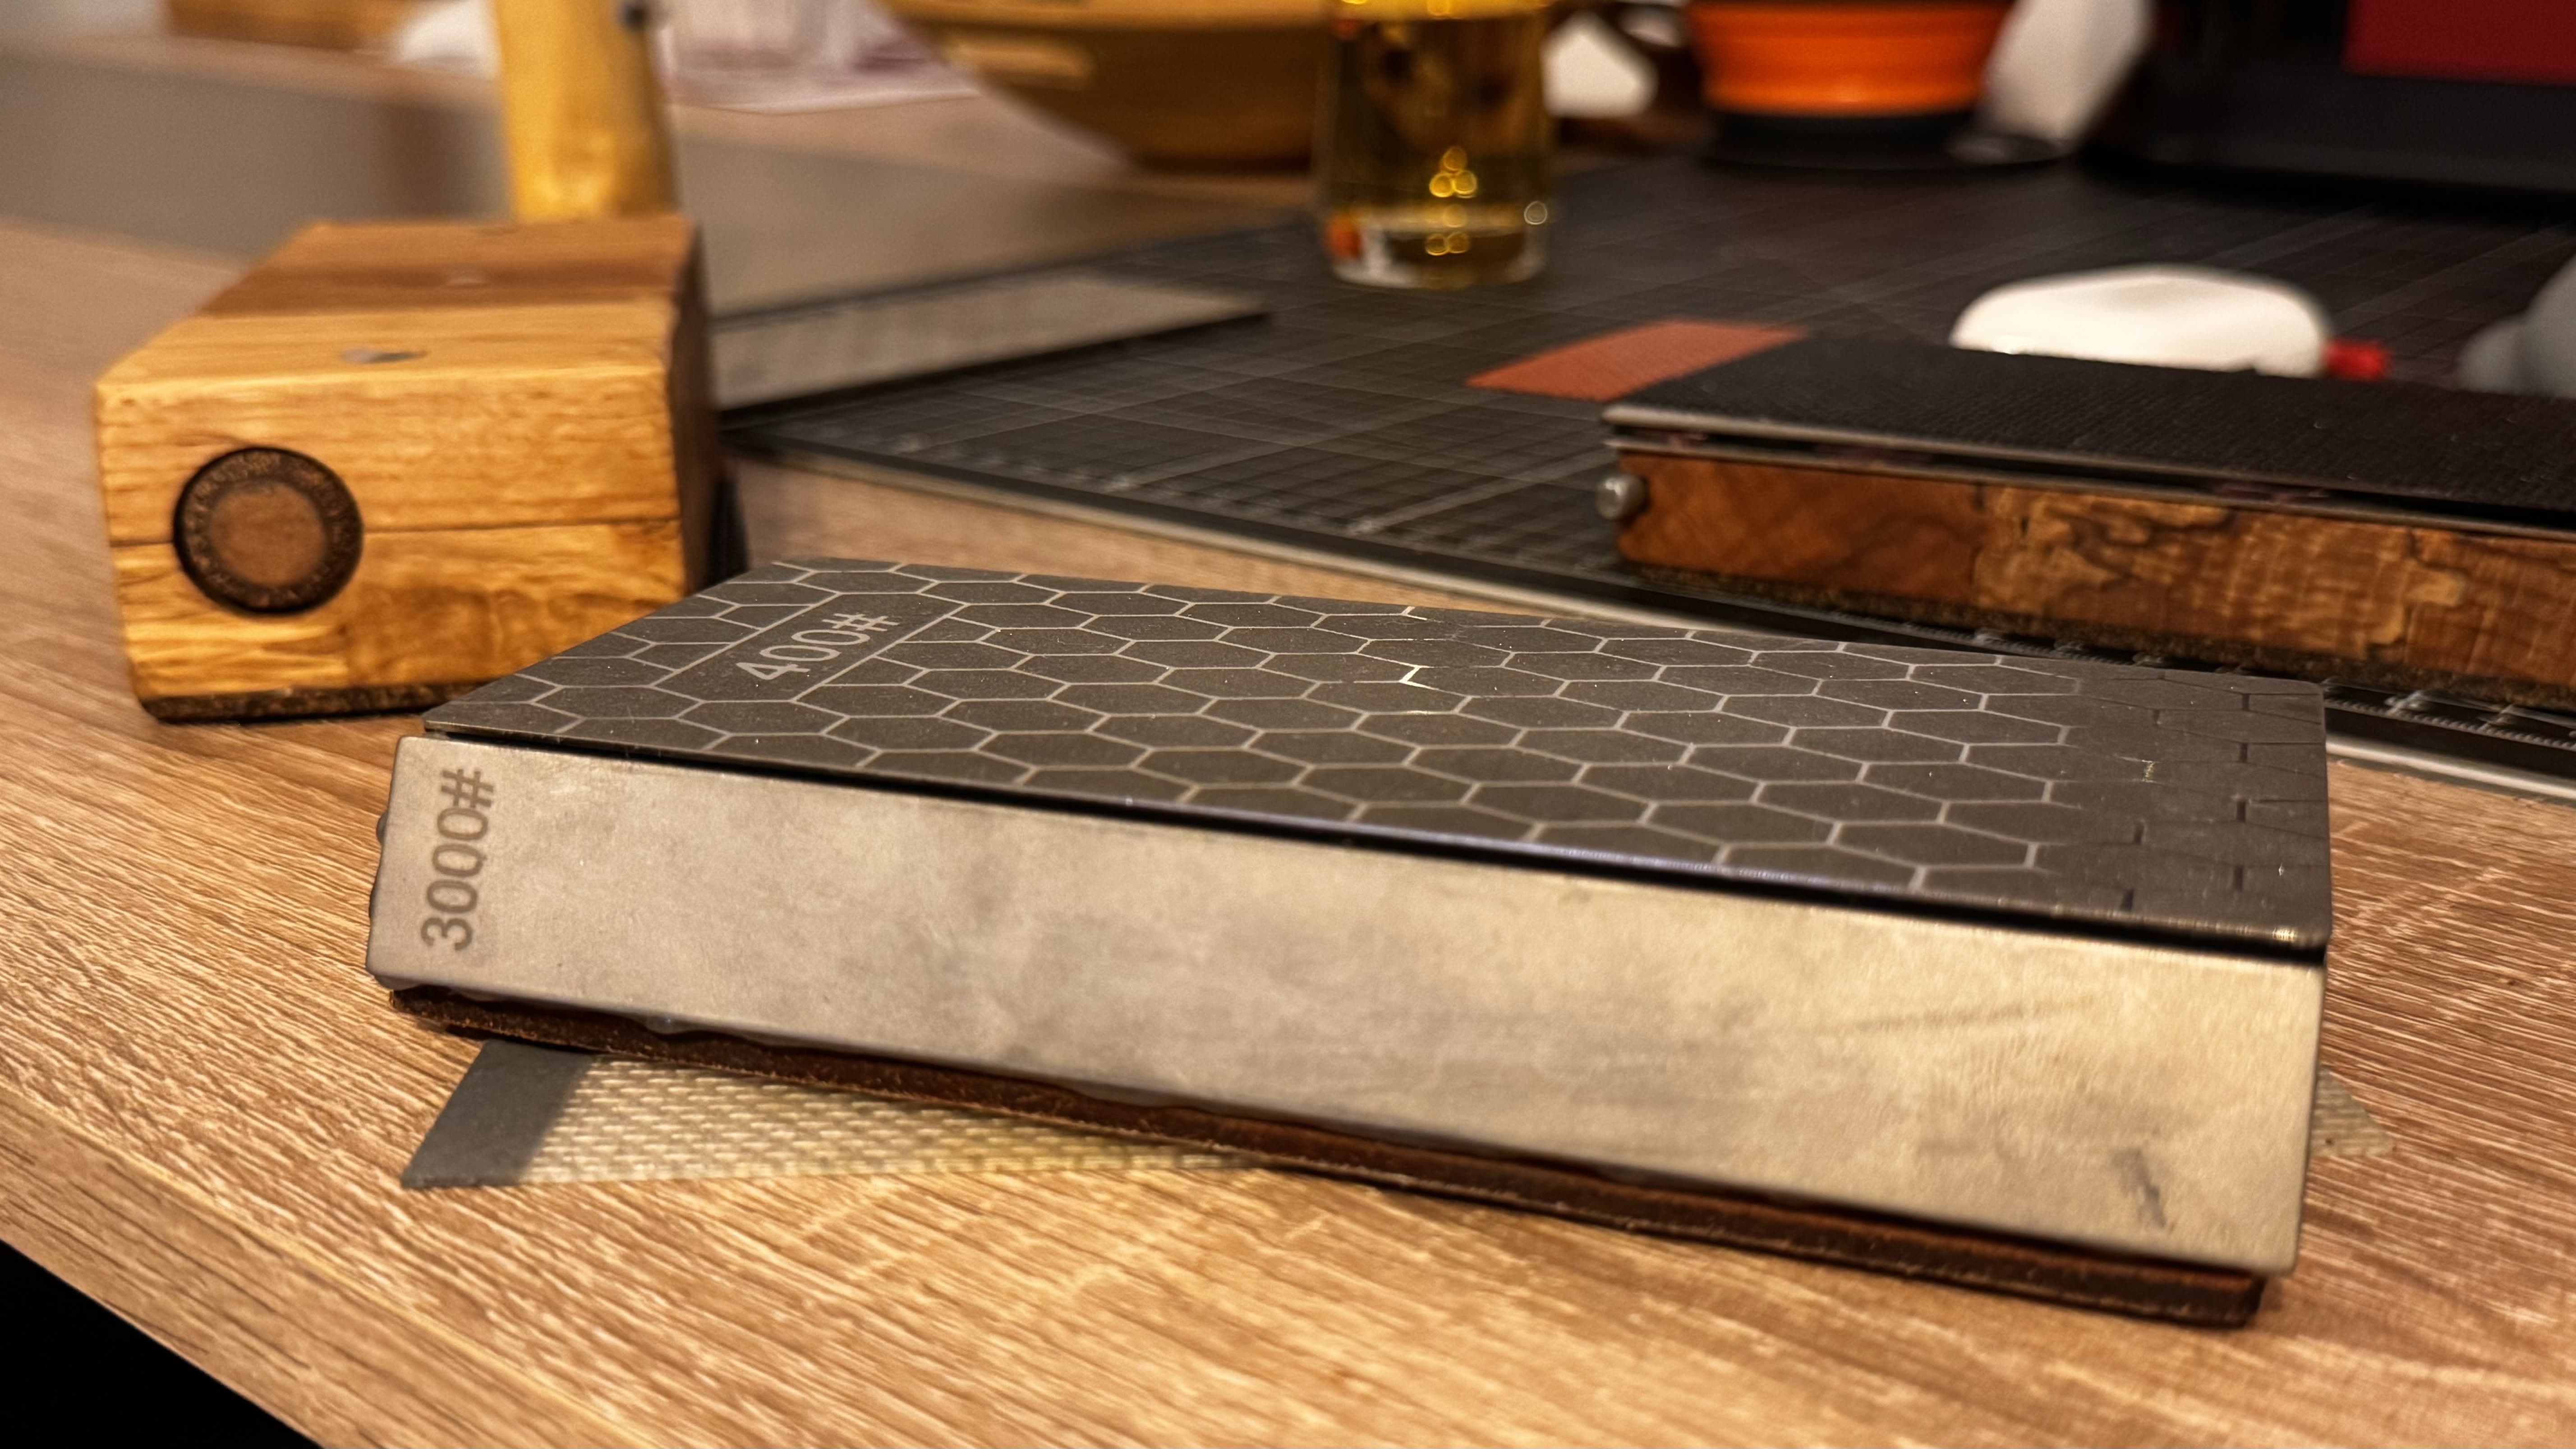
This time, I glued two coarse and fine grit plates back to back (either 400/1000 or 600/1200) and embedded some neodymium magnets inside the wood to keep the diamond steel plates firmly attached but able to flip easily.
For the strop, I didn’t have any leather left and it was crazy expensive, so I looked into alternatives.
You can basically use any semi-hard porous surface for a strop, even plain thick cardboard. It just needs to hold the fine particles of the compound and not flex too much when pressing the blade into it. People seem to use leather, denim, cotton, felt, cardboard, balsa wood etc.
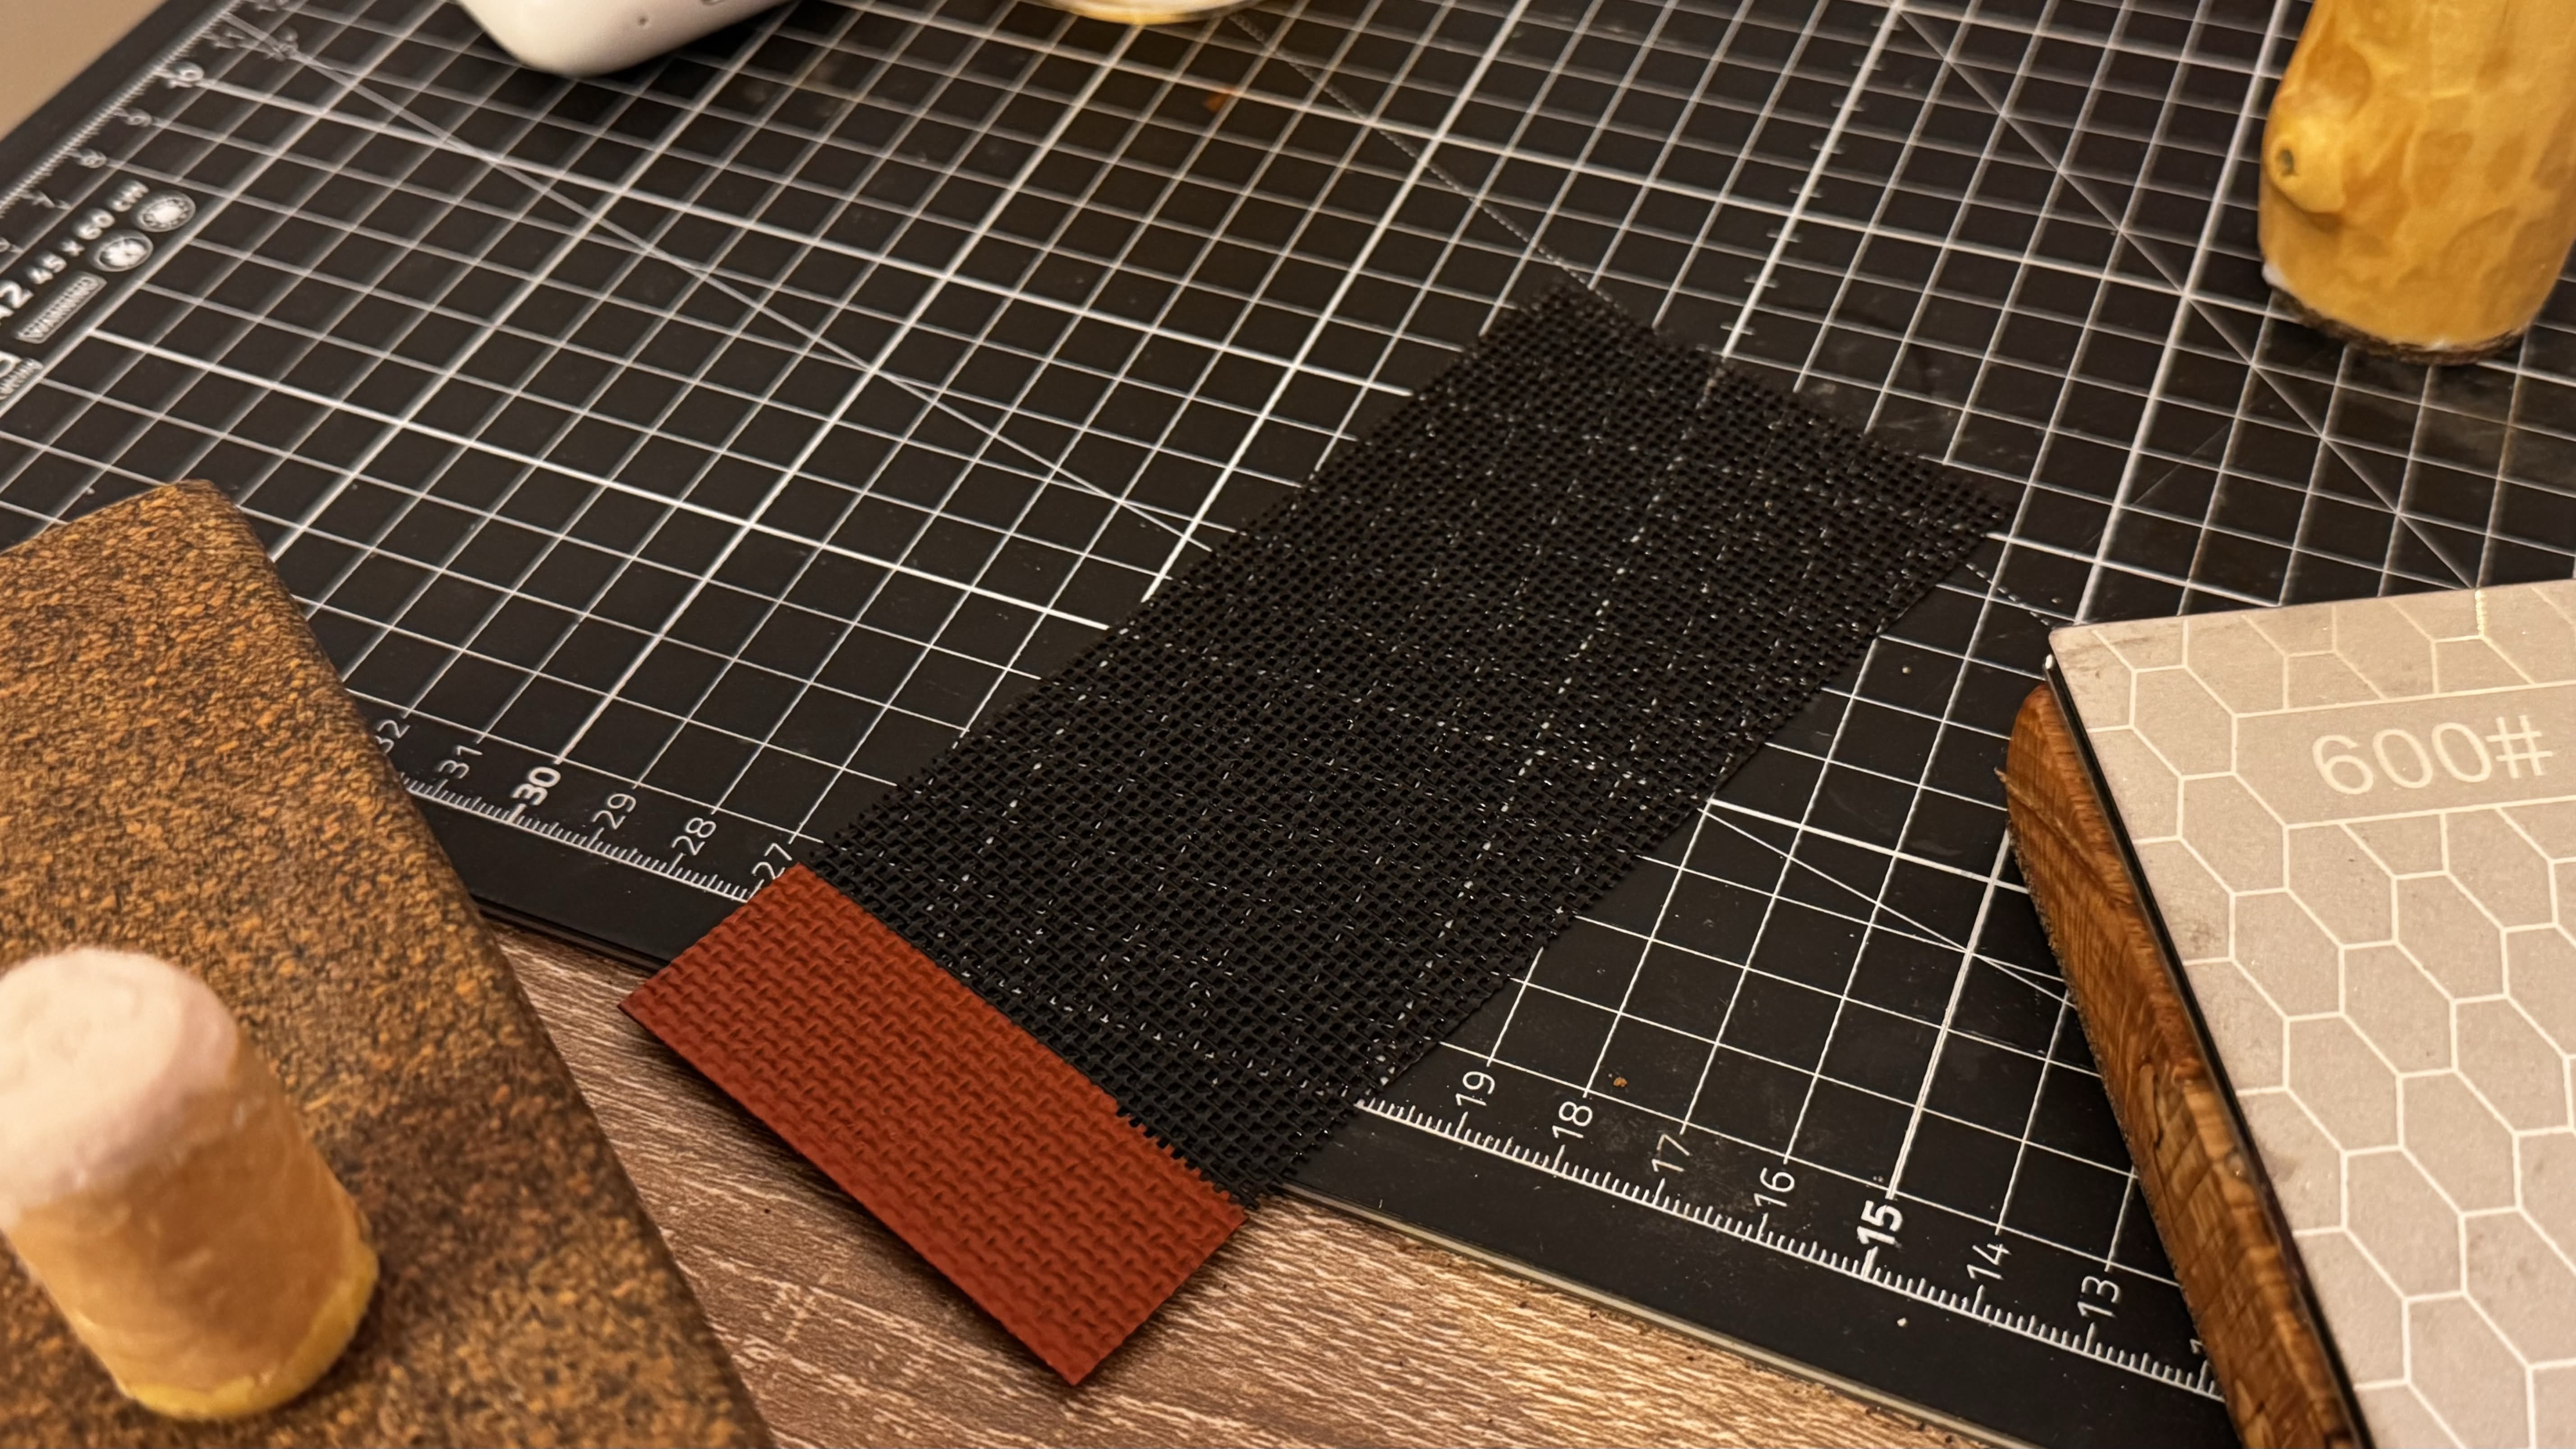
After building my workbench, and the leg vise for it which needed some rubberized cork for the vise faces, I now found myself with 3m² of that rubberized cork on my hands because I could only buy it in bulk here.
I tested the cork for stropping and I was amazed to see it’s even better than leather:
- it holds more compound which makes it last more
- the bars of waxy compound break down easier when dragging them across cork, almost like drawing with wax crayons. On leather I needed to heat the bars often.
- it doesn’t get cut as easily. I would often drag the blade wrongly across the leather, cutting into it. The cork is like a self-healing material where cuts disappear
- it’s cheaper
- it can be shaped by sanding, which allows me to give the strop rounded edges that are great for stropping recurve blades (those knives which curve to the inside and annoyingly only make contact with the edge of the strop)
- it doesn’t dry and curl like leather
So I cut and glued a 3mm thick piece of that cork on the other side of the oak base and loaded it with pink corundum stropping compound.
Yes, this is the time I discovered the even more esoteric world of stropping, lapping and honing compounds which are not green bars of waxy stuff. We’ll get to that.
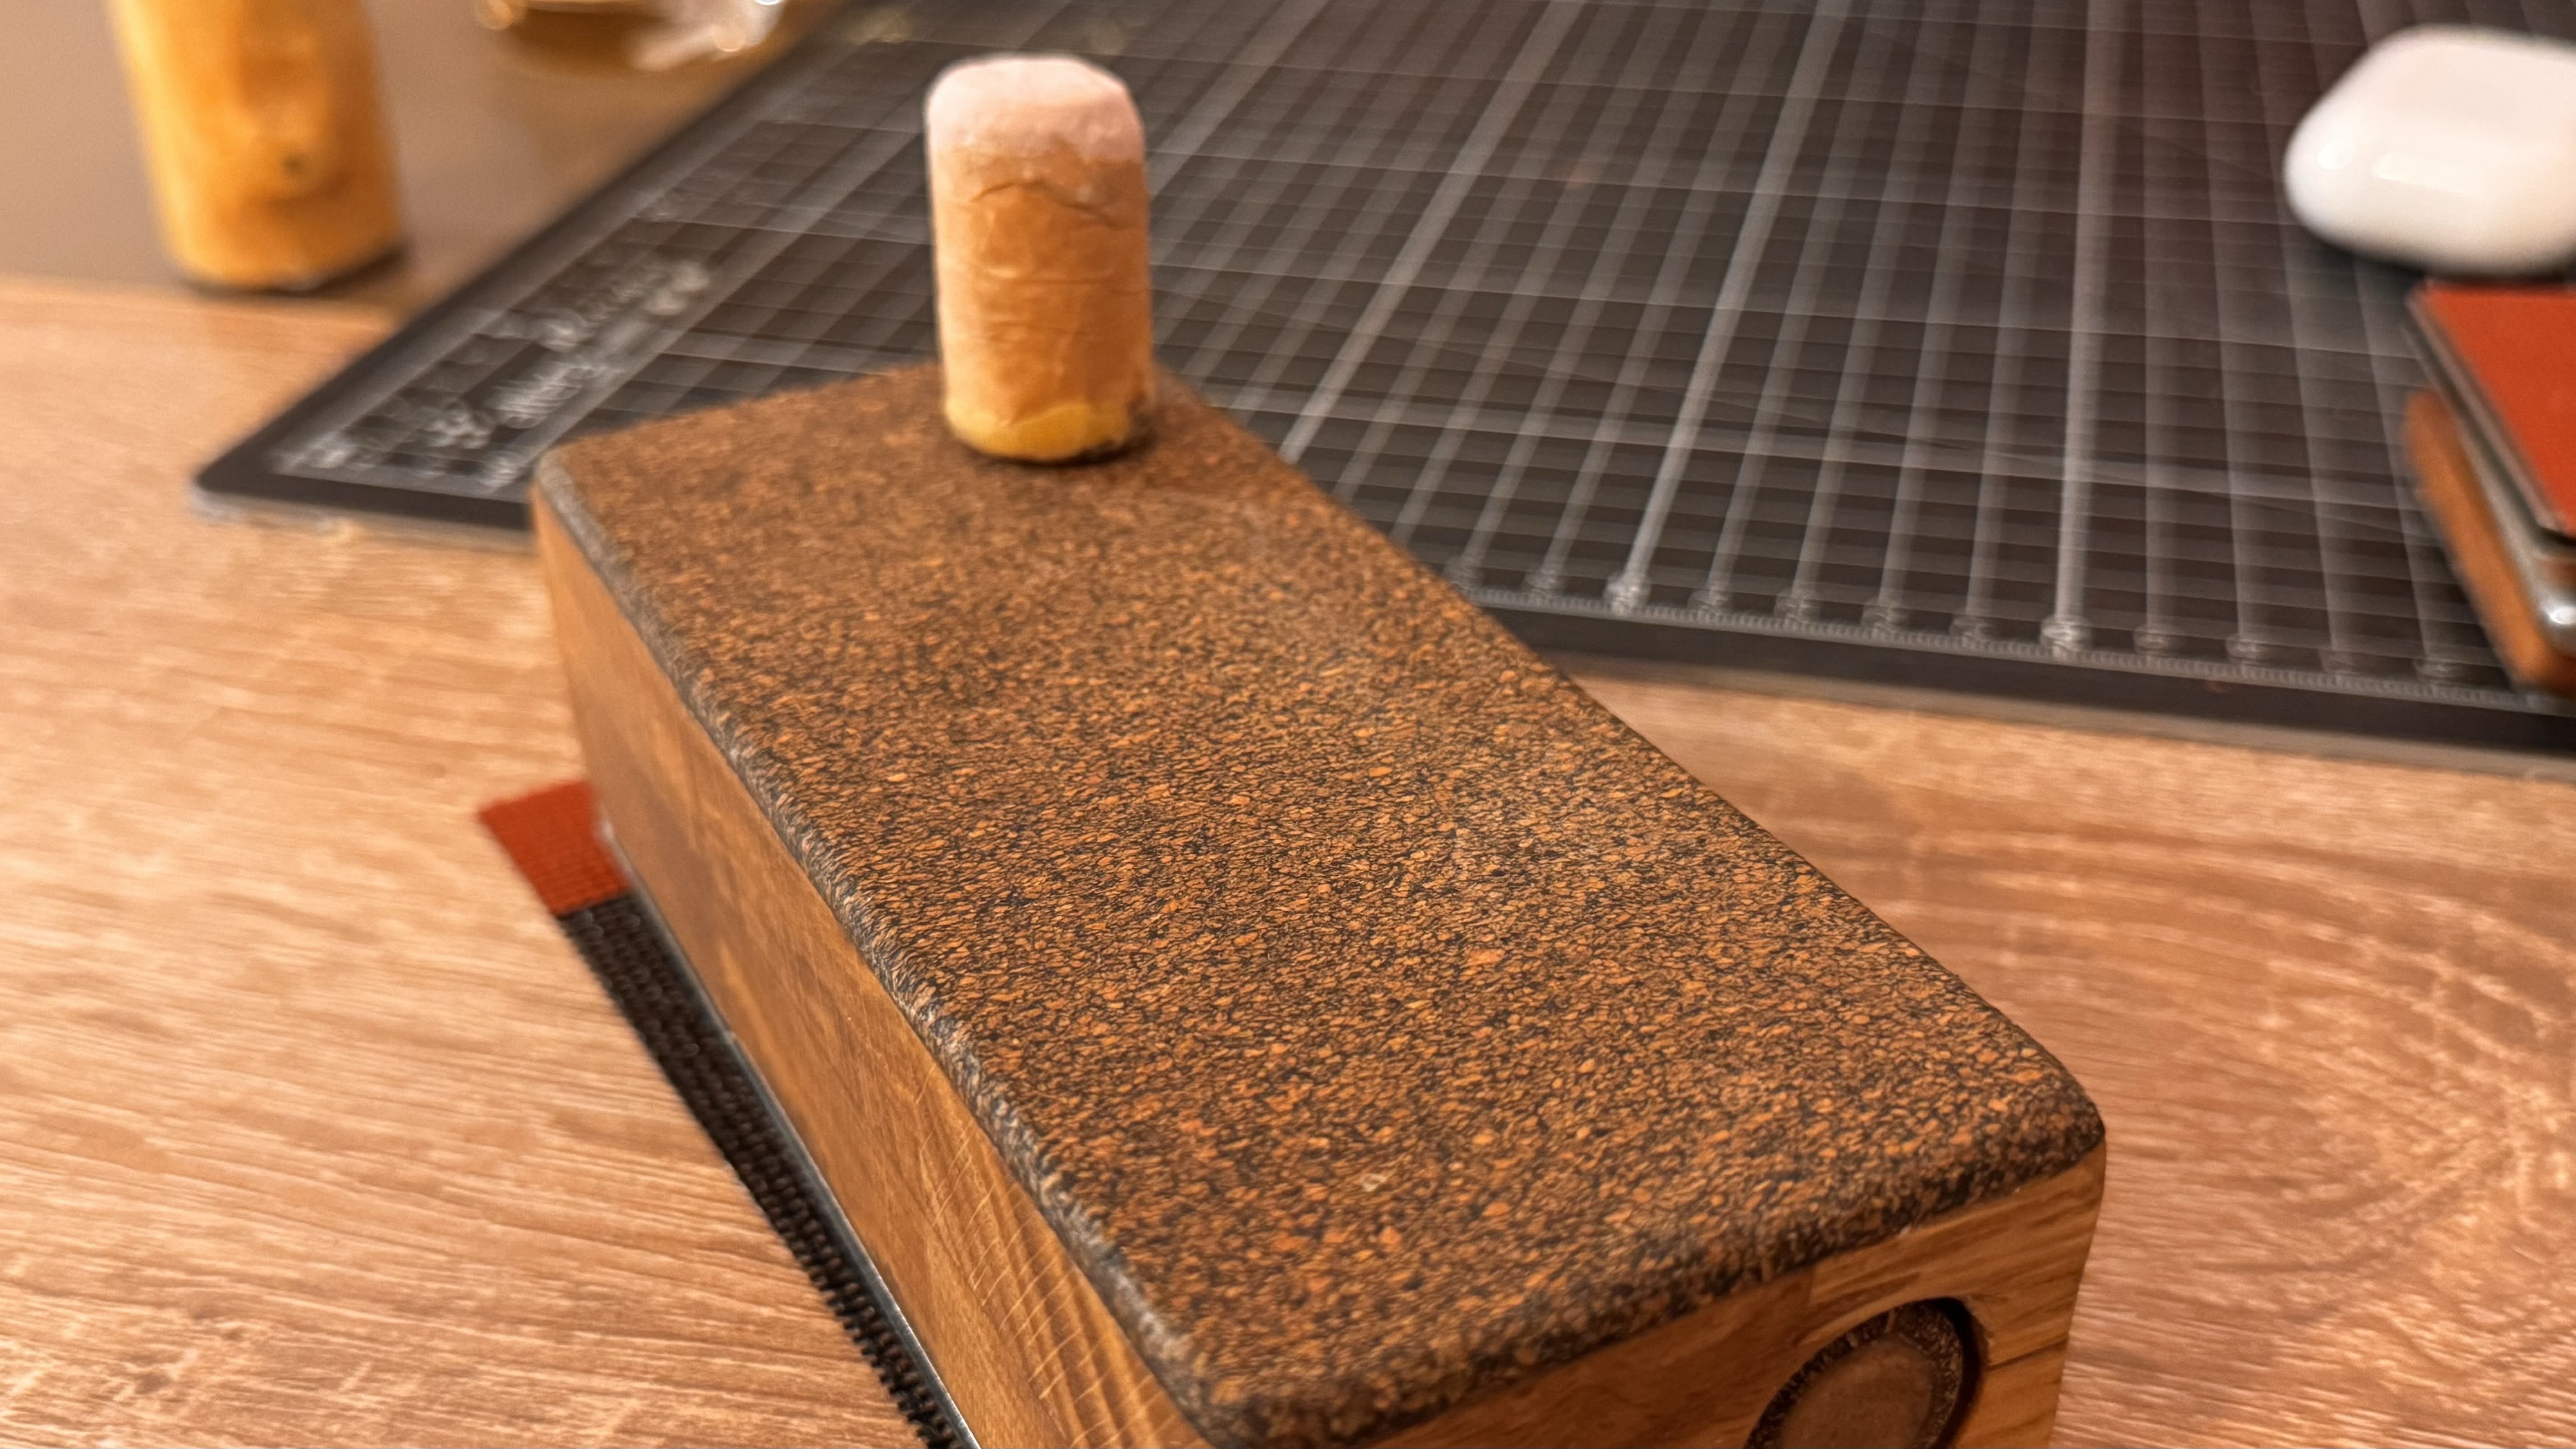
The 36mm thick oak gave me enough space to drill 20mm diameter holes with a forstner bit, where I could place a wooden dowel lined with that same cork for honing the hook knives. Another hole was for the stropping compound.
I finally reached an all-in-one sharpening block, super stable, with coarse enough grit for getting a bad blade into shape fast, fine grit for sharpening, enough strop for a few years and a way to sharpen recurves and hook knives.
It was a bit too thick though…
# Stropping compounds
# The green stuff
Most people get a green bar of compound and use it all their life and never think about it. But nooo, I had to do research and see what that compound contains and why is it so waxy and is there better stuff?
My understanding is that the green stuff is made of very fine particles of chromium oxide, which is also used as green pigment in cosmetics and painting, and is why it makes everything in your life green when touched.
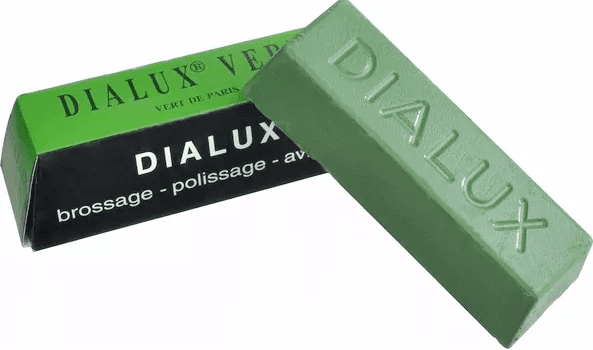
I had a Dialux Vert bar, and searching for its material safety data sheet surfaces the following:
Composition/information on ingredients:
mixture of fatty acids and paraffins, aluminum oxide, chromium oxide
So it is made of very fine particles of chromium and aluminum oxide suspended in paraffin wax.
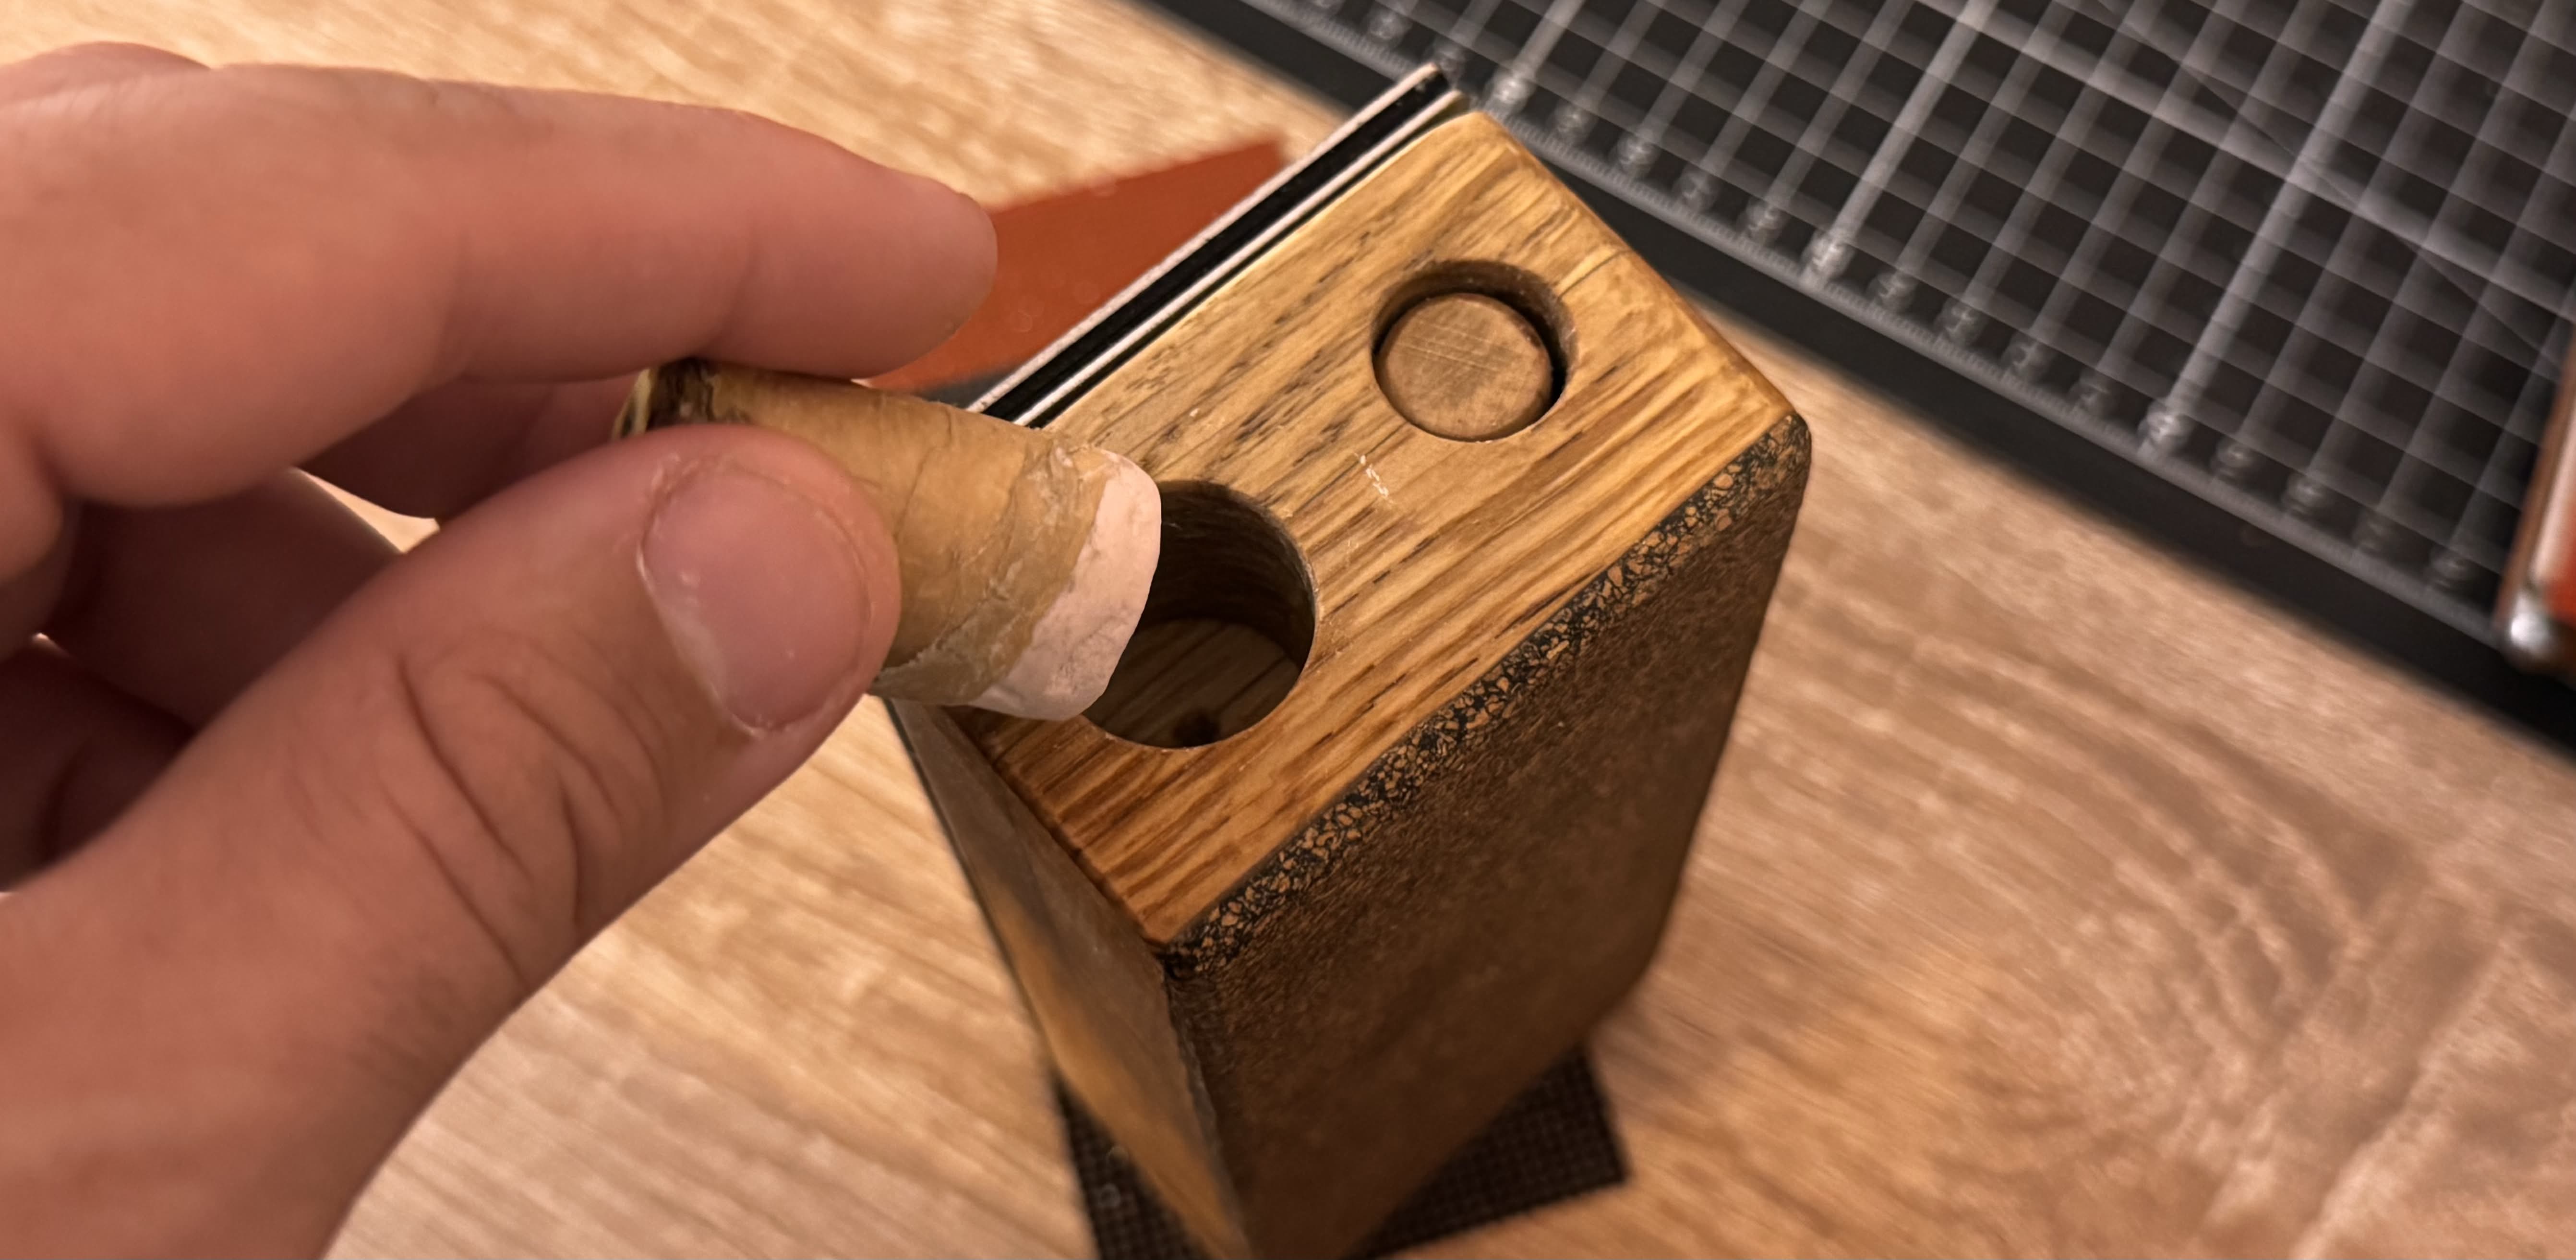
Does that mean it can be melted and poured into cylindrical molds? Yes it does! Adding some green flakes in a small cup with walnut oil in it allows it to be melted in a microwave oven.
Any type of oil works, I tested sunflower oil, olive oil, coconut oil, mineral oil etc. you just need some kind of non-solid fat to make the paste less viscous when melted.
After lining the 20mm hole with wax paper and pouring the melted mix, it solidified as a green cylinder with a chapstick-like consistency, that I could easily get out and apply to the cork.
# Diamonds
In the last decade, diamond pastes and sprays started becoming popular for stropping.
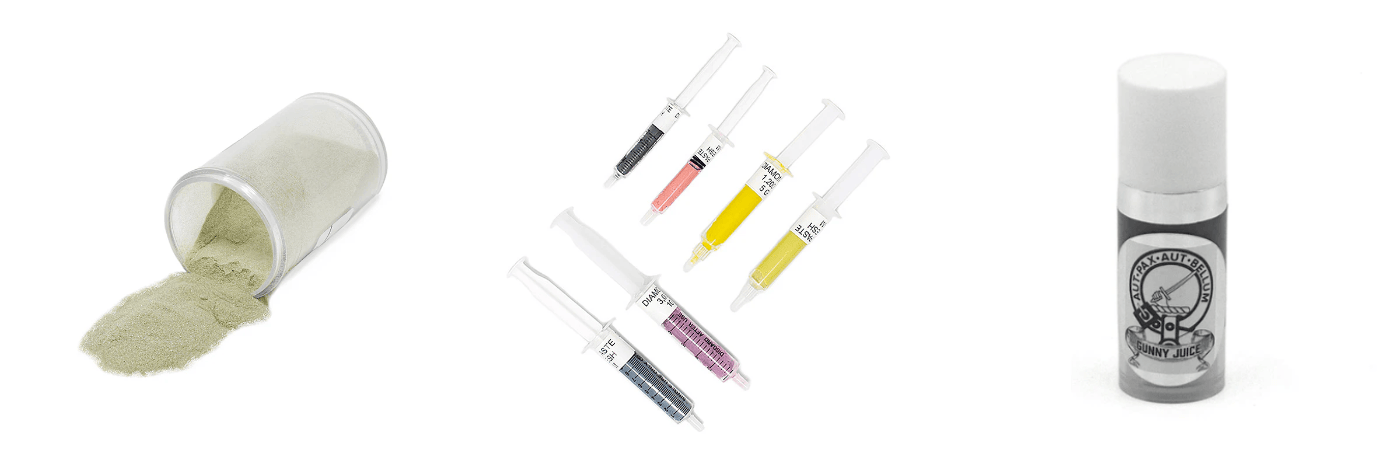
Diamond powder was widely used for lapping gemstones for a long time, and diamond paste was being used in the dental industry for polishing implants. Eventually people figured they can suspend the very fine diamonds in a sprayable emulsion, advertise it for stropping and ask a ton of money for it.
Diamond sprays are not accessible here in Romania, but I was able to get some lapping pastes of 3 microns and 0.25 microns particle size to test.
For reference, chromium oxide green polishing compound is usually formulated with
0.5 micronsparticle size, but that doesn’t mean that all particles are of that size.That’s like the average particle size which gives you an idea of what kind of polish you can expect from it.
I admit, I like diamonds. They’re easy to apply by squirting the paste from a syringe, I can throw it in a bag without making a green mess, it does seem to cut metal very slightly faster and lasts a bit longer between applications. But a tiny syringe that lasts 3 months costs more than a green bar that lasts me years. I can’t make this compromise.
There are people that bought the diamond powder directly and made their own pastes and emulsions but it all seems too complicated for little gain.
I did try some cheap Chinese AliExpress diamond pastes, but for the life of me I can’t figure out how they calculate the grit and particle size. I bought the finest I could find which is listed as W0.5 micron mesh. I don’t know what means but it doesn’t get to a shaving sharp blade easily.
# Cubic boron nitride
Looking into other abrasives, there’s another loved stropping compound: cubic boron nitride or CBN emulsions.
It’s impossible to buy that here, but it’s way too expensive anyway and I’m pretty sure the difference would be marginal.
People tout that CBN and diamonds are actually necessary for harder steels, but I’ve yet to see that tested. My guess is that it’s just people’s way of justifying the purchase of a new and expensive toy, we’re all guilty of that.
Wikipedia says that Cr₂O₃ has a hardness of 8 to 8.5 Mohs which is far higher than plain steel at 4 Mohs and even higher than tungsten at 7.5 Mohs. If it can scratch tungsten, I’d say it can hone a steel knife.
# Corundum
I eventually found a pale pink compound that has the same fine grit as the green one, but without the color problem.

It’s made from corundum, which is aluminum oxide without the chromium. It’s harder than the green stuff (at 9 Mohs), doesn’t leave its color everywhere, and it’s dirt cheap. I bought the Lea Chromax brand and I’m very happy with it so far. I paid €10 for a huge 800g brick that will last me a lifetime.
I break small chalk-like pieces from it that I pocket or leave throughout the house to ensure I always hame some on hand. It applies easily to both cork and leather and doesn’t flake off or stick to the blade.
I gifted sharpening blocks along with pieces of stropping compound to many friends and relatives and the pink Chromax block still looks as large as when I bought it.
# Third iteration
I am working on a way to merge the all-in-one quality of the thick oak block with the pocketability of the thin beech block.
I also got my hands on some narrow 20mm width diamond plates of very fine 3000grit. I find them useful for when I need a very sharp blade for doing finishing cuts on a spoon or when planing dense wood. I’d like to integrate this plate somehow in the block.
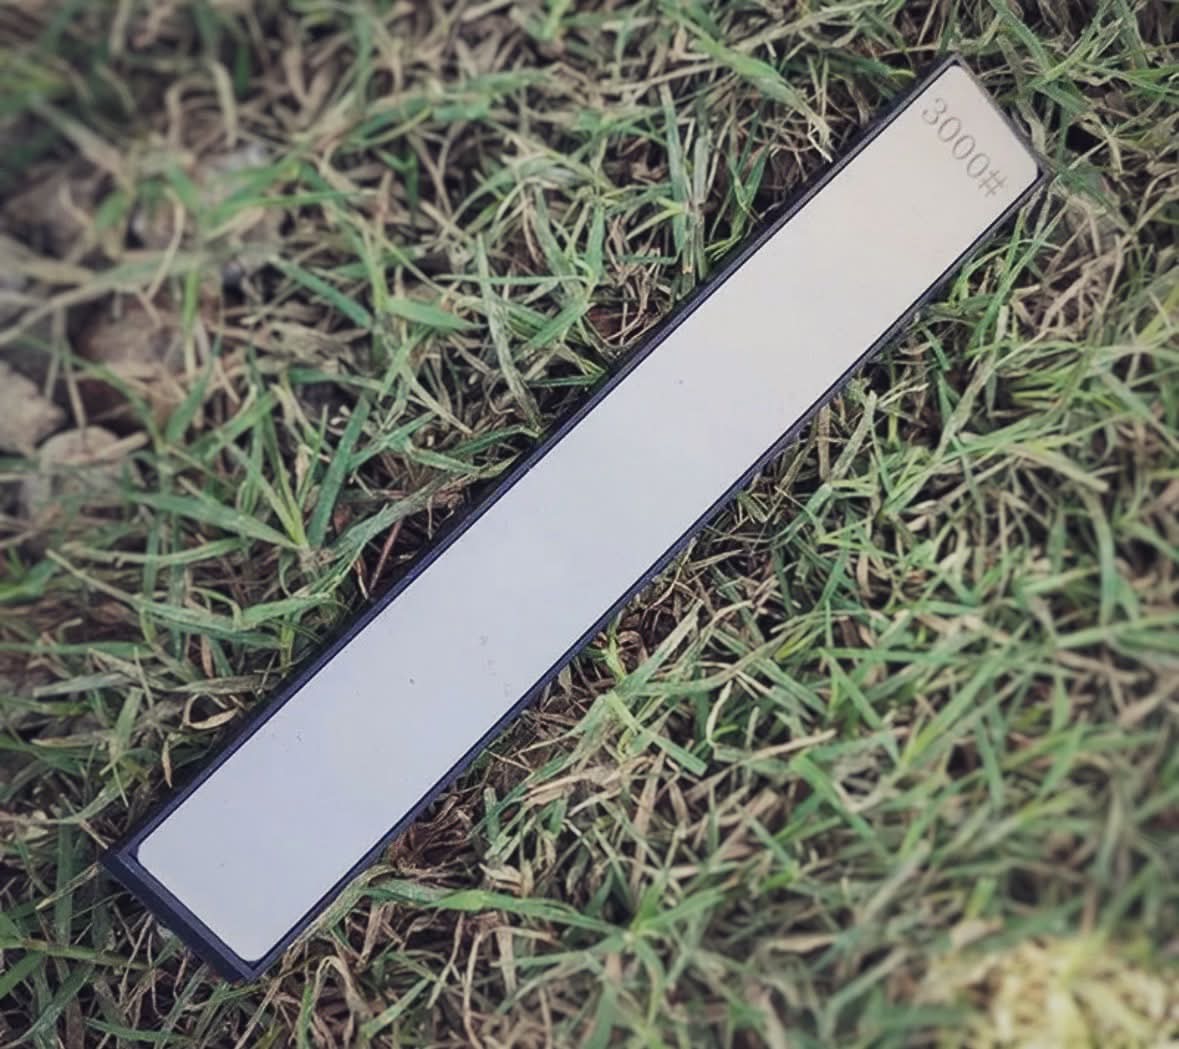
It could maybe be glued to the side of a 20mm thick block of wood, and used hand held instead of on a table.
I did try that on the beech block I already had, and it seems to work nicely. It’s not that hard to sharpen freehand and handheld as long as it’s just for doing the last fine honing on an already sharp blade.
The wax paper method for pouring melted compound is also not ideal. I’m thinking that pouring the compound into a chapstick tube would make it easier to use, and be thinner so it can fit inside a hole in the wood block.
I also have these round diamond files which are great for sharpening round blades, serrated knifes, drill bits, even some rip cut saws. They come as a double-ended rod with a conical file on one end, and a round + flat file on the other end, and they’re meant to be placed in a pencil-like holder.
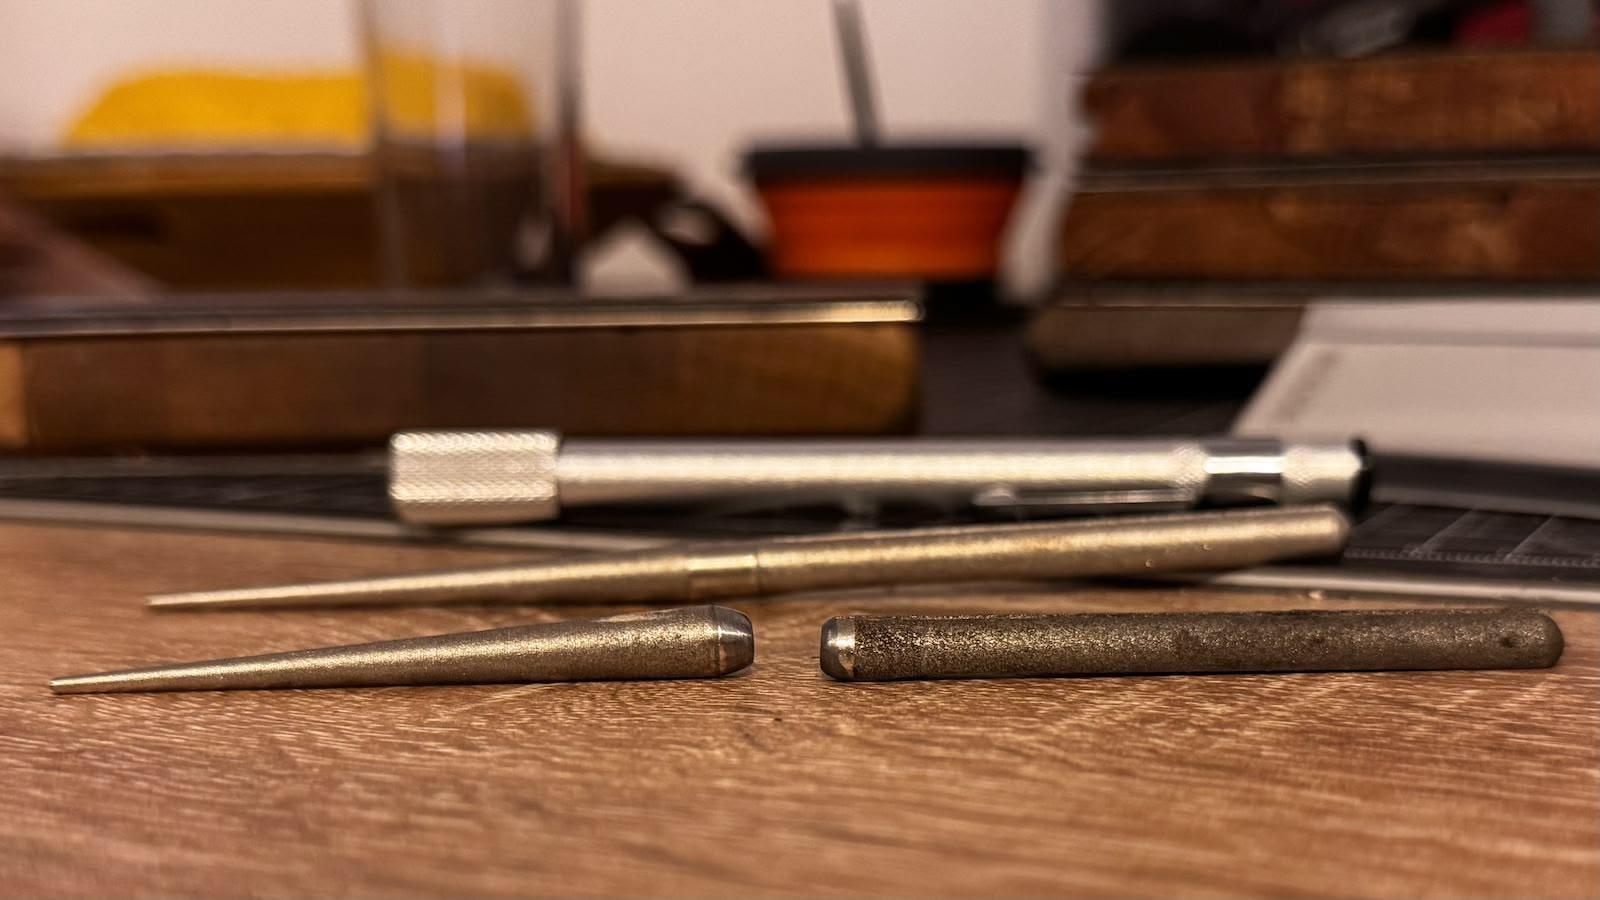
I cut the rod in half with an angle grinder as I can’t fit the whole length of the rod inside the wood block. With only half of it, I can drill a 6mm hole in the block to embed the file.
I can’t fit the cork lined wooden rod for honing though. I only have 3mm thick cork for now which is way too thick for this use case.
There’s this thing called Nanocloth which is like a thin microfiber cloth specifically for CBN and diamond emulsions. It’s hella expensive and I would never buy such a thing, but it gave me an idea: I could try wrapping some thin felt cloth around a 10mm diameter wooden dowel. It should hopefully fit in the block and hold enough compound for stropping.
And I guess that’s it, that would be my ideal sharpening method:
- a compact block of solid wood
- with 2 wide diamond plates on one face (coarse and fine grit)
- a cork strop on the other face
- a narrow diamond plate on the side (very fine grit)
- an embedded round diamond file
- an embedded strop rod
- and a stropping compound, inside the wood block somehow, that’s easy to get out and apply
And all that in a cheap package that should cost less than $30 to assemble.
I’m still working on it, I prepared some new 18mm oak blocks and I’ll update this post with the results.
- Posted on:
- October 11, 2024
- Length:
- 17 minute read, 3547 words
- Categories:
- Wood Sharpening
- Series:
- Woodworking Sharpening
- Tags:
- wood sharpening