Developing a food-safe finish for my wooden spoons and cups
My quest into creating the perfect wood finish for hand carved wooden spoons and coffee cups.
December 8, 2025
You know what they say in the world of products: fast, cheap, good; pick two
Which is very similar to my experience when trying to find the most suitable wood finish for my hand carved wooden spoons and coffee cups.
It’s hard to find a finish that:
- cures fast (in less than 2 days)
- is food safe (can be used on things you eat or drink from, like spoons and cups)
- is free of solvents (doesn’t smell of nasty chemicals that make you dizzy every time you apply it)
- and with the hard requirement of making wood hydrophobic and leaving a visually pleasant sheen without creating a plasticky layer
# Natural drying oils
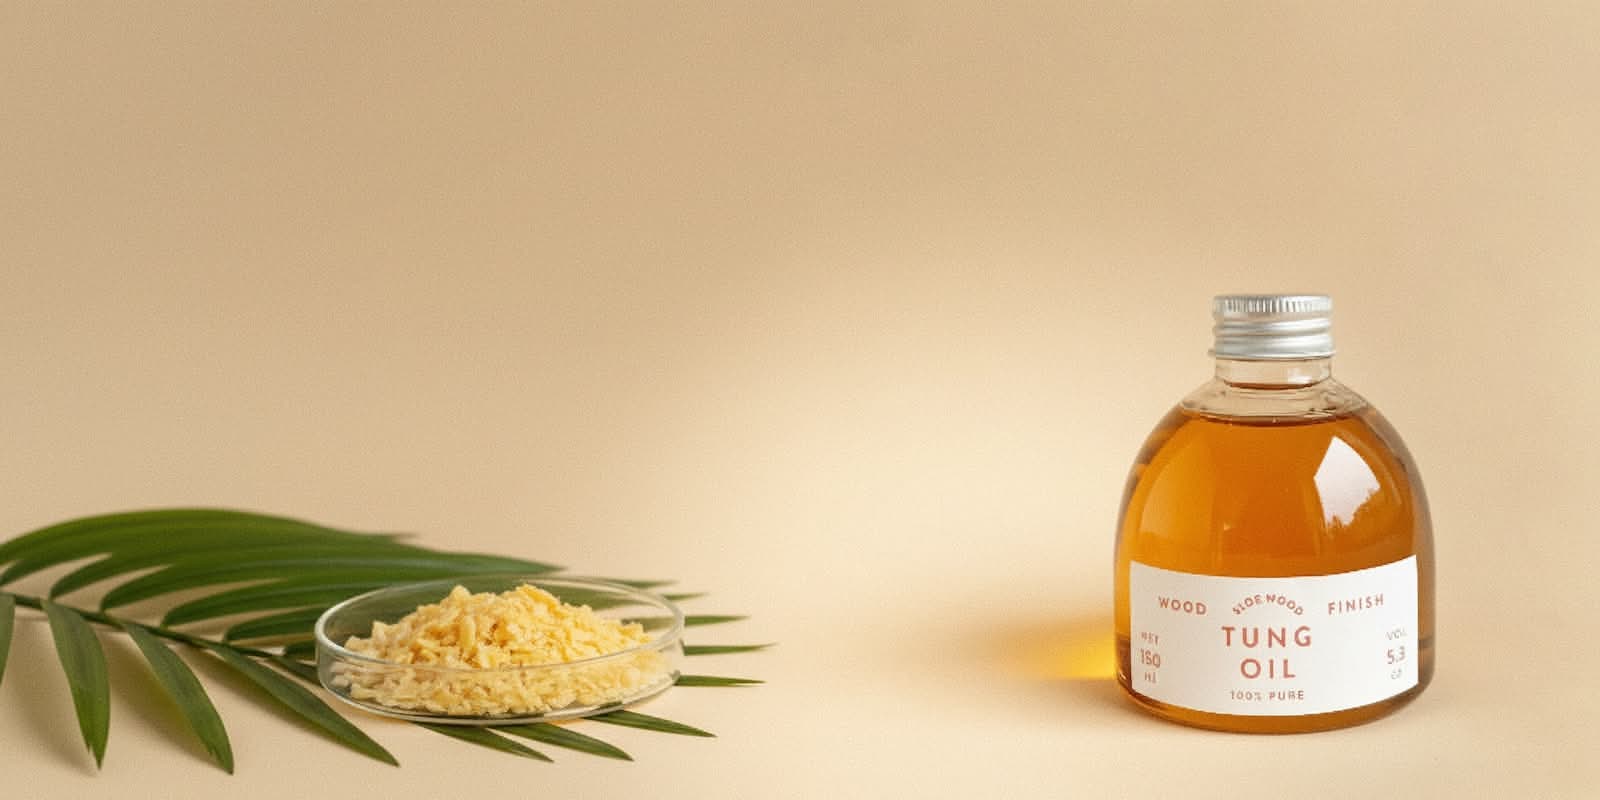
Sure, we have pure tung oil which doesn’t need any solvent, has a pleasant nutty smell, and cures into a food-safe hydrophobic polymer inside the wood fibers. But it takes 2 to 4 weeks for the curing to happen depending on oxygen intake, and the finish is quite matte and boring.
While tung oil is natural, that doesn’t mean you can ingest it. It is a powerful irritant in its liquid form, it is only food-safe after curing into its inert polymer state.
There’s also the more rare polymerized (or heat-bodied) tung oil, which is a honey-like viscous oil that cures in a few days because it was heated to very high temperatures in the absence of oxygen. That would be ideal except I can’t find it anywhere around me to buy, and it would most likely need thinning with citrus oil solvent (or D-limonene).
Citrus oil has a nice but way too potent smell of orange peel. It might seem pleasant at first compared to the chemical smell of naphtha and white spirits, but it can be too much if you finish small wooden objects often like I do.
And there are plenty other drying oils, the most well-known being linseed oil, which is indeed edible but has the unfortunate disadvantages of yellowing over time, taking ages to cure and having a persistent oily-grassy flavor. Polymerized linseed oil (aka stand oil) cures faster but still retains the nasty flavor.
Careful not to confuse it with boiled linseed oil or BLO, which uses metallic drying agents like cobalt or manganese salts.
The boiled name comes from the old practice of heating the linseed oil with lead oxide inside, effectively shortening the oxidation process. But nowadays there’s no heat involved in BLO.
More details in The lowdown on BLO
The oil painting world has experience with many drying oils like safflower oil, walnut oil, poppy seed oil, hemp seed oil. Unfortunately they cure slower and into a less durable film while also being rare and expensive so they aren’t good alternatives for wooden utensils.
# Hardwax oils
For a good few months I used Osmo Polyx Oil which is a solvent-based hardwax oil. Its safety datasheet and full declaration of ingredients mention about 50% of it being white spirit solvent, and the rest is composed of natural oils processed to become drying oils, and a small amount of hard carnauba wax.
It is fast curing in less than a day, leaves a beautiful shimmer on the wood surface, it is food safe after curing, but smells awful because of the solvents.
In the winter months I carve indoors and have to finish the pieces indoors as well, and the horrible solvent smell fills my house for a whole day. I seem to have become sensitized to the smell and now I have almost a full can of Osmo that I can’t use without a mask, even outdoors.
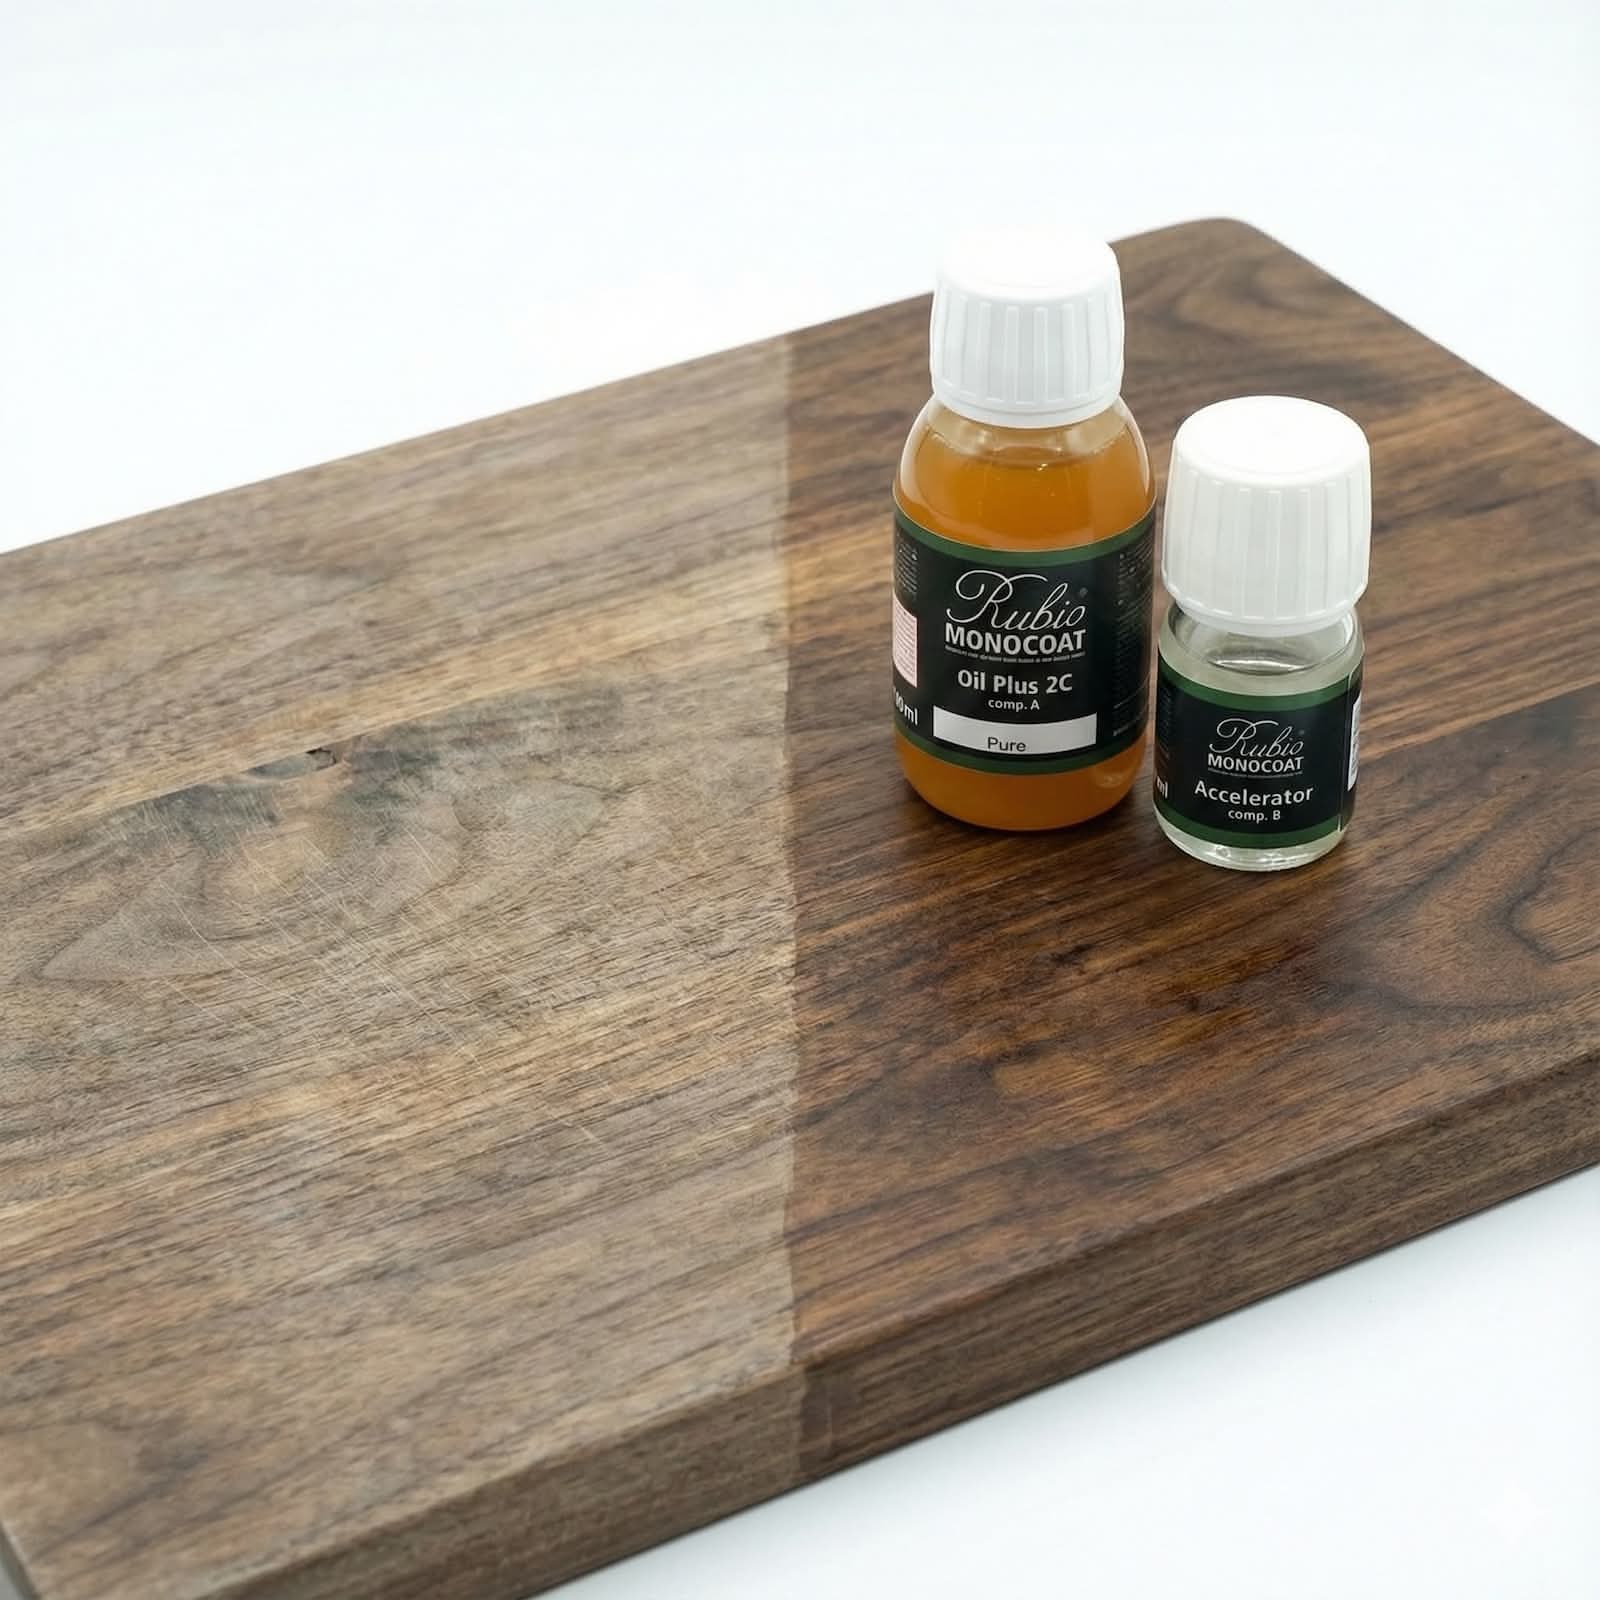
There’s also Rubio Monocoat and other two-component hardwax oils where the base component is usually a solvent-free blend of drying oils and waxes, and the accelerator component is Hexamethylene diisocyanate or HDI. The base component can cure on its own in about 3 weeks and the accelerator shortens the curing time to less than a day.
This alternative cures fast into an inert and food safe polymer, smells like apple pie, and the finish has a slight satin effect. But it’s really hard to mix properly and apply on small wooden objects like spoons and cups. I almost always use too much accelerator, the mixture ends up too viscous and hard to spread on the wood and the constant opening of the bottles and cans makes the components dry prematurely in their containers.
However, this idea of blending drying oils with hard wax seems to be promising and it’s the path I continued on developing.
# Notable mentions
Food-safe epoxy is another alternative, but I hate both the idea of using synthetic plastics and their plasticky look takes away from the experience of using wooden utensils.
Why even use wood if you’re going to cover it in a layer of clear plastic?
Many people also recommend other edible oils like coconut oil, olive oil etc. But these don’t cure and don’t provide any protection for hot liquids. They either go rancid inside the wood fiber or get washed out after using the wooden object.
Some recommend non-edible petrol-based mineral oil (aka liquid parrafin) because it doesn’t go rancid, but has the same effect of not actually doing much for protection and will leak into hot liquids.
Beeswax is often used by kuksa makers (traditional Scandinavian wooden cups) but wax molecules are too large to penetrate wood fibers well, and it has a low melting point of 60℃ (140°F) so hotter liquids are out of the question.
Carnauba wax has a higher melting point at 80℃ (176°F) and is harder than beeswax, but it has a glossy finish, having a similar look to epoxy resin after buffing.
The ideal finish should combine the durable hydrophobic properties of fiber-penetrating tung oil with the fast drying properties of a top wax layer, in an easy to apply but solvent-free blend.
# Urushi
Some carvers use urushi lacquer which is the sap from a tree common to Japan. The result is a hard and glossy finish that can resist temperatures of over 300℃ (572°F), but the look and process of application is far from what I’m looking for.
To ensure curing is complete, it needs 10 to 20 very thin coats over many months in a warm and humid environment. The wood then takes this dark brown color, regardless of what wood you started with, which is the opposite of what I want.
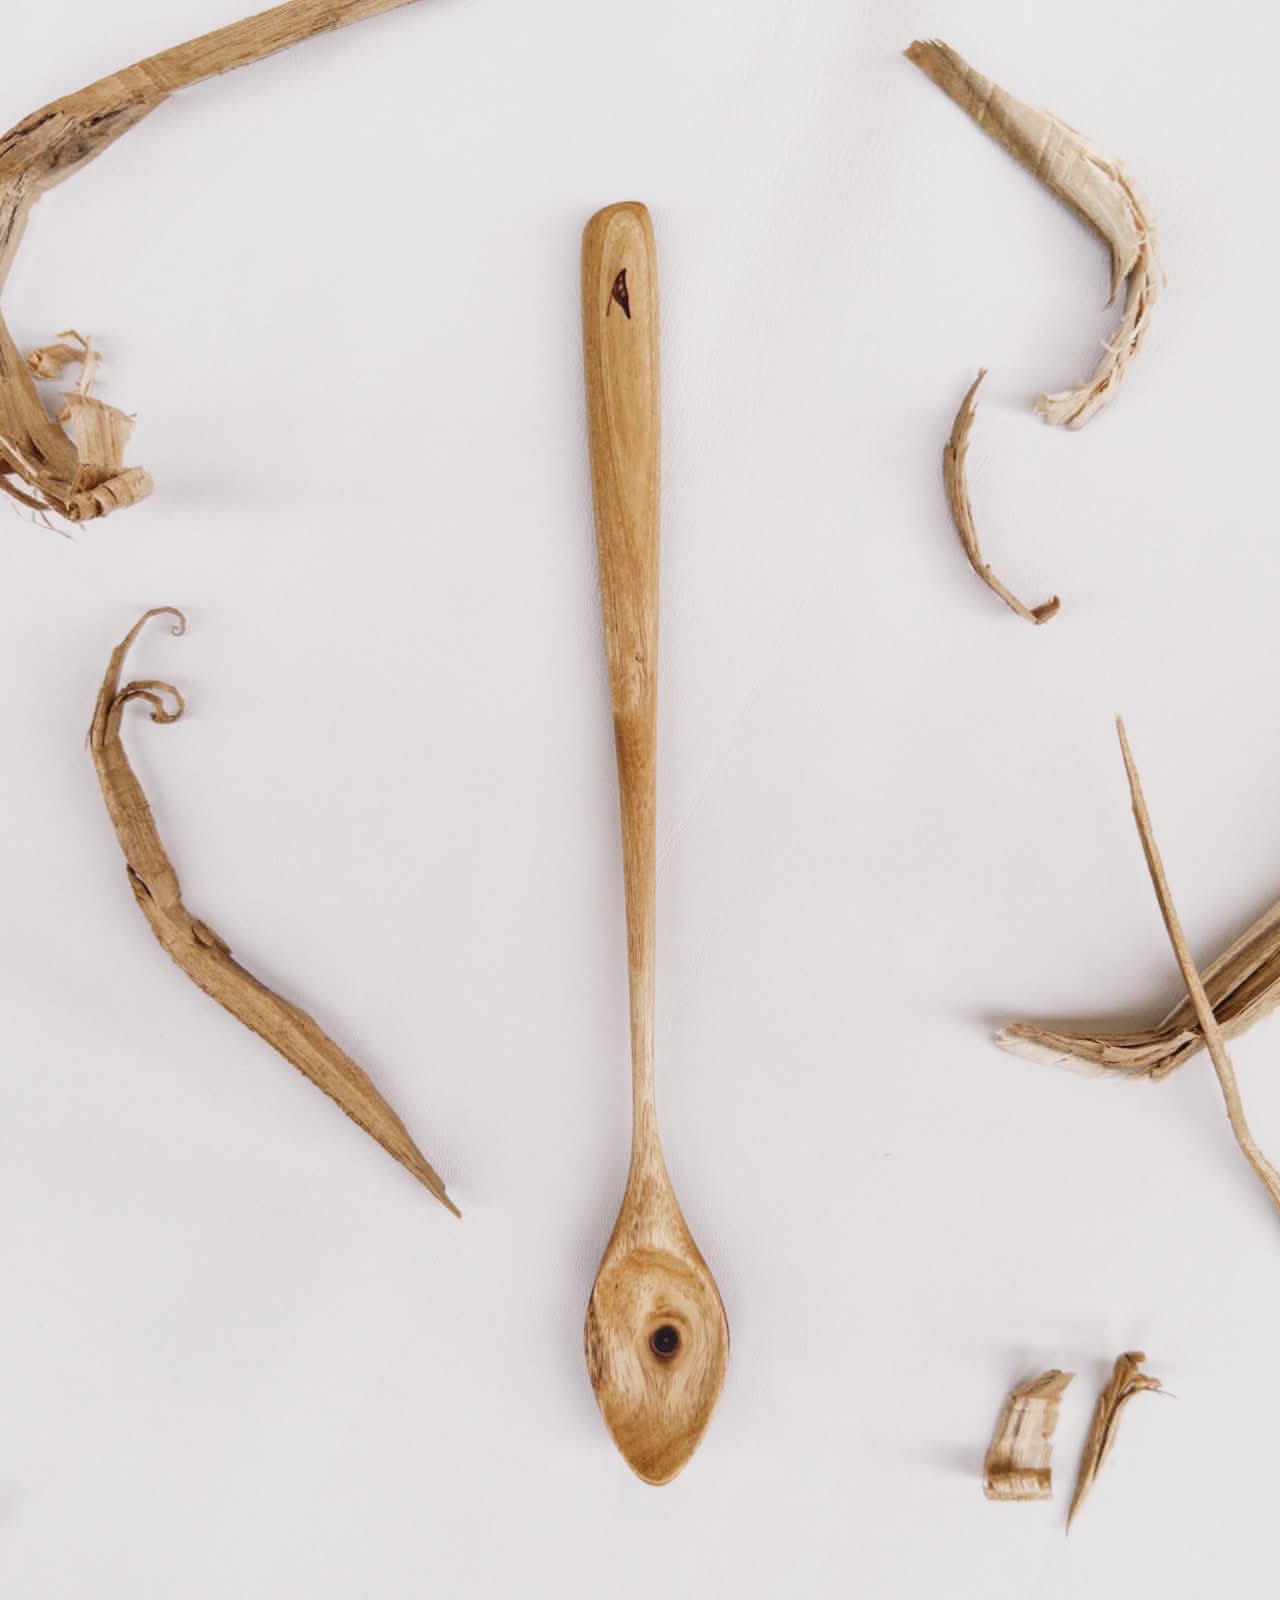
I work with fruit and flower woods that are less common in woodworking (apple, fig, jasmine etc.) and I want people to know that and experience what that specific wood looks and feels like. I want to keep their original hues and tints and accentuate the wood grain of each piece.
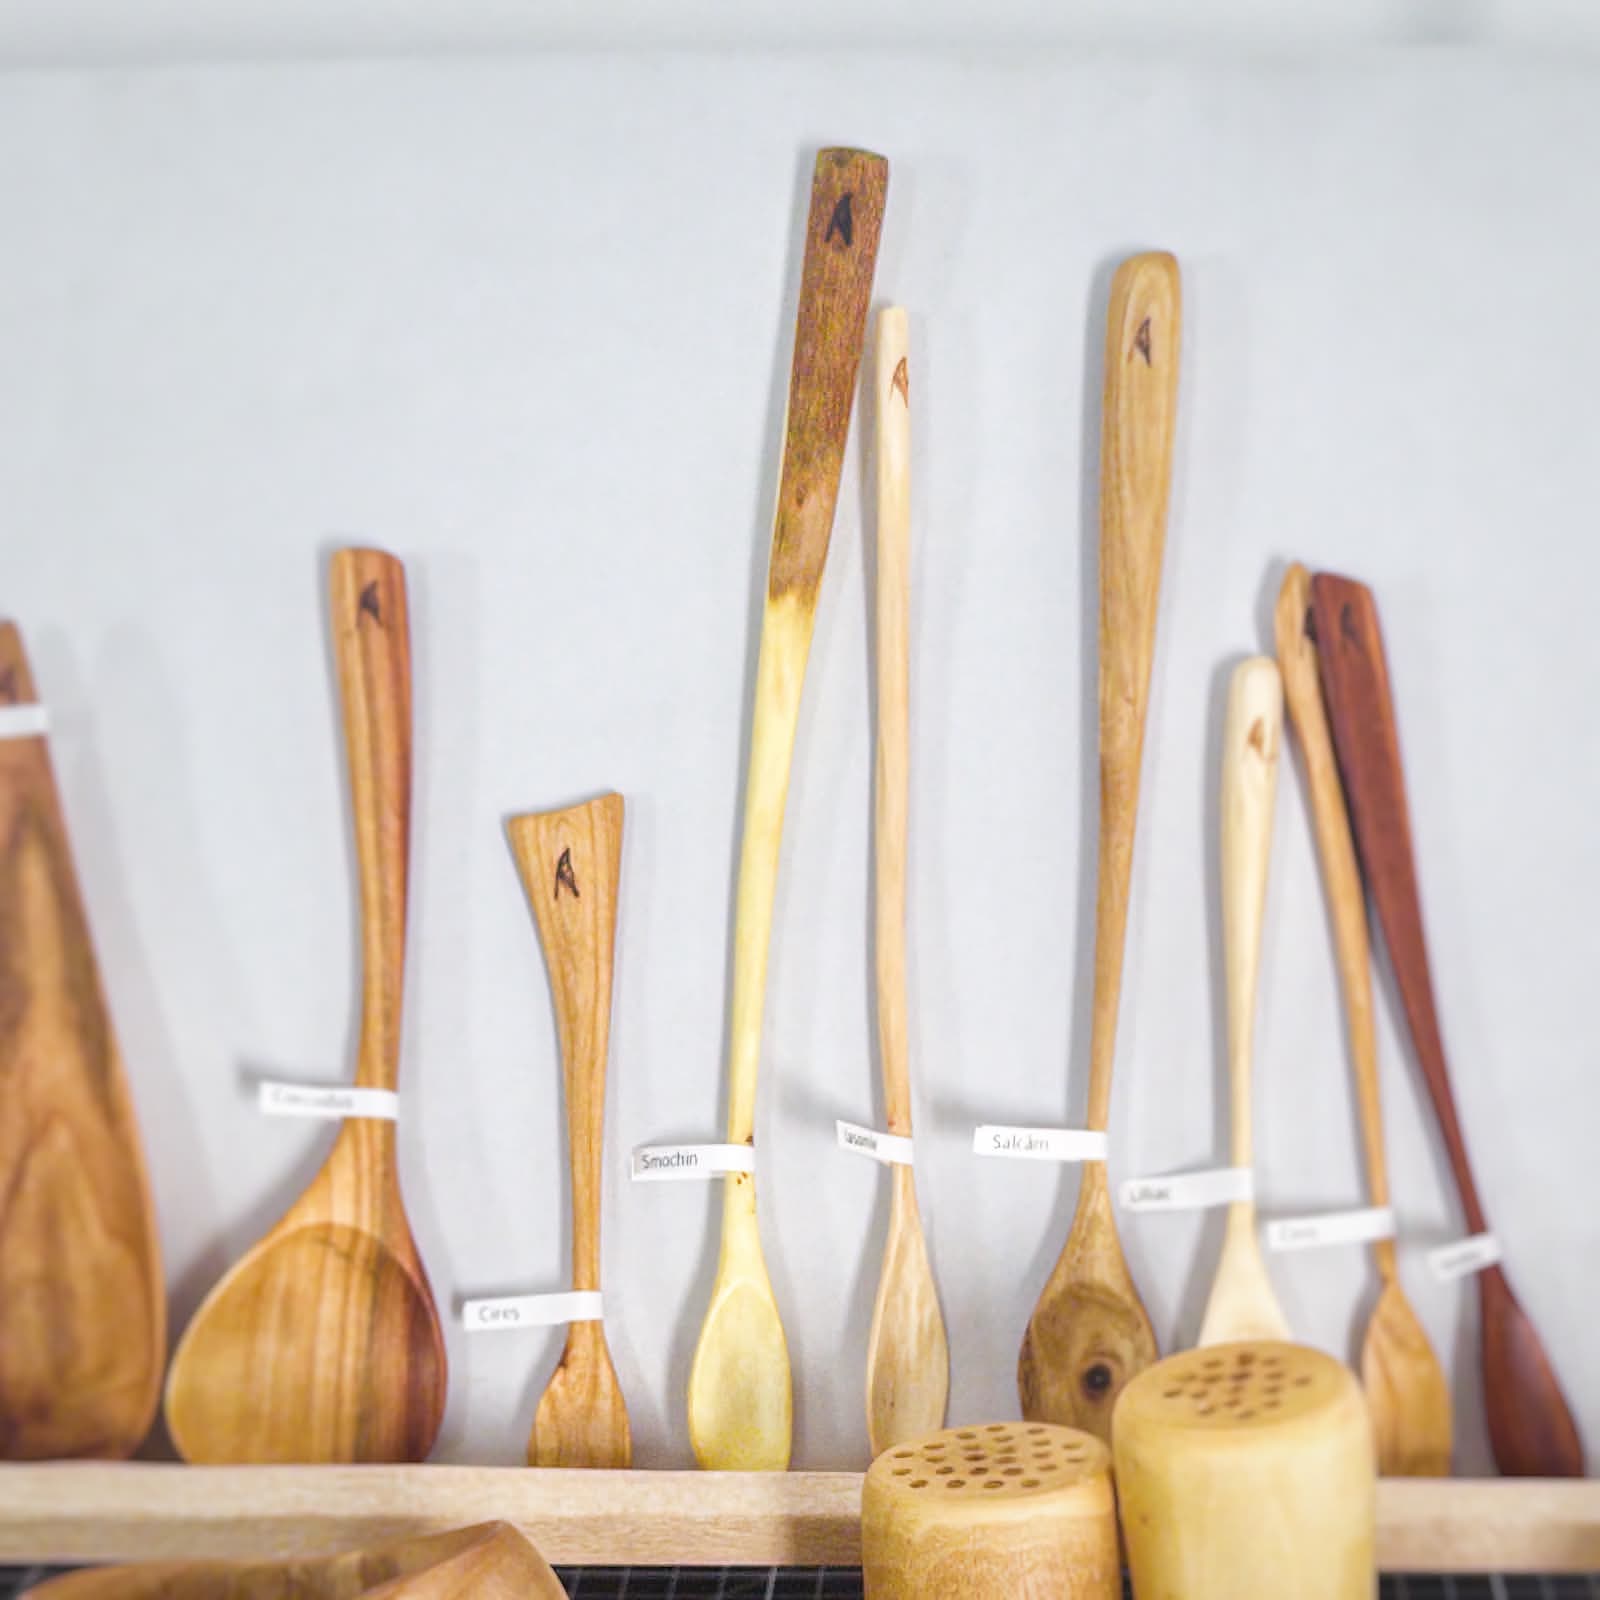
Someone from Israel bought a spoon I made from fig tree wood, but still asked about it a bit incredulously. It had greenish light wood grain, with a bit of untouched bark kept on the handle and a wonky curve that followed the shape of the tree branch it was made from.
They have many fig trees there but had never seen such a thing made from their wood, so they felt a connection to their motherland in that usual object.
My mother-in-law cut a large lilac tree and gave me some thick branches. It’s a wood that cracks very easily while drying, and I couldn’t use most of it. But the few things I made from it, I gifted back to my wife’s mother and sisters in the form of cooking spoons and are still cherished by them today.
Its pastel purple grain accents remind them clearly of the tree that used to flower every spring in their yard.
A brown lacquer would never be able to create this effect, and that is why I’m still trying to find the perfect natural oil based finish.
# Hassui Ceramic (or liquid glass)
This is basically polysiloxane dissolved in alcohol and isoparaffin solvent. After 3 weeks it cures into a food-safe, hydrophobic layer which is durable, but not very good looking in my eyes.
It leaves the wood looking bare, without the color enhancing and rippling effect of oil. Some might prefer that, especially people that worked hard on getting a very shiny knife finish on their carving.
In my case, this is not the finish I’m looking for because of the 3-week curing time, the solvent-based solution, the colorless look and the fact that this finish is very expensive and hard to find outside Japan.
Here’s some more information from a woodturner’s experience with the finish: Liquid Glass Wood Finish – Update
# Natural hardwax oil
For the impatient, here’s a comparison video on how the hardwax oil blends look and perform in a water test on some plum wood blanks.
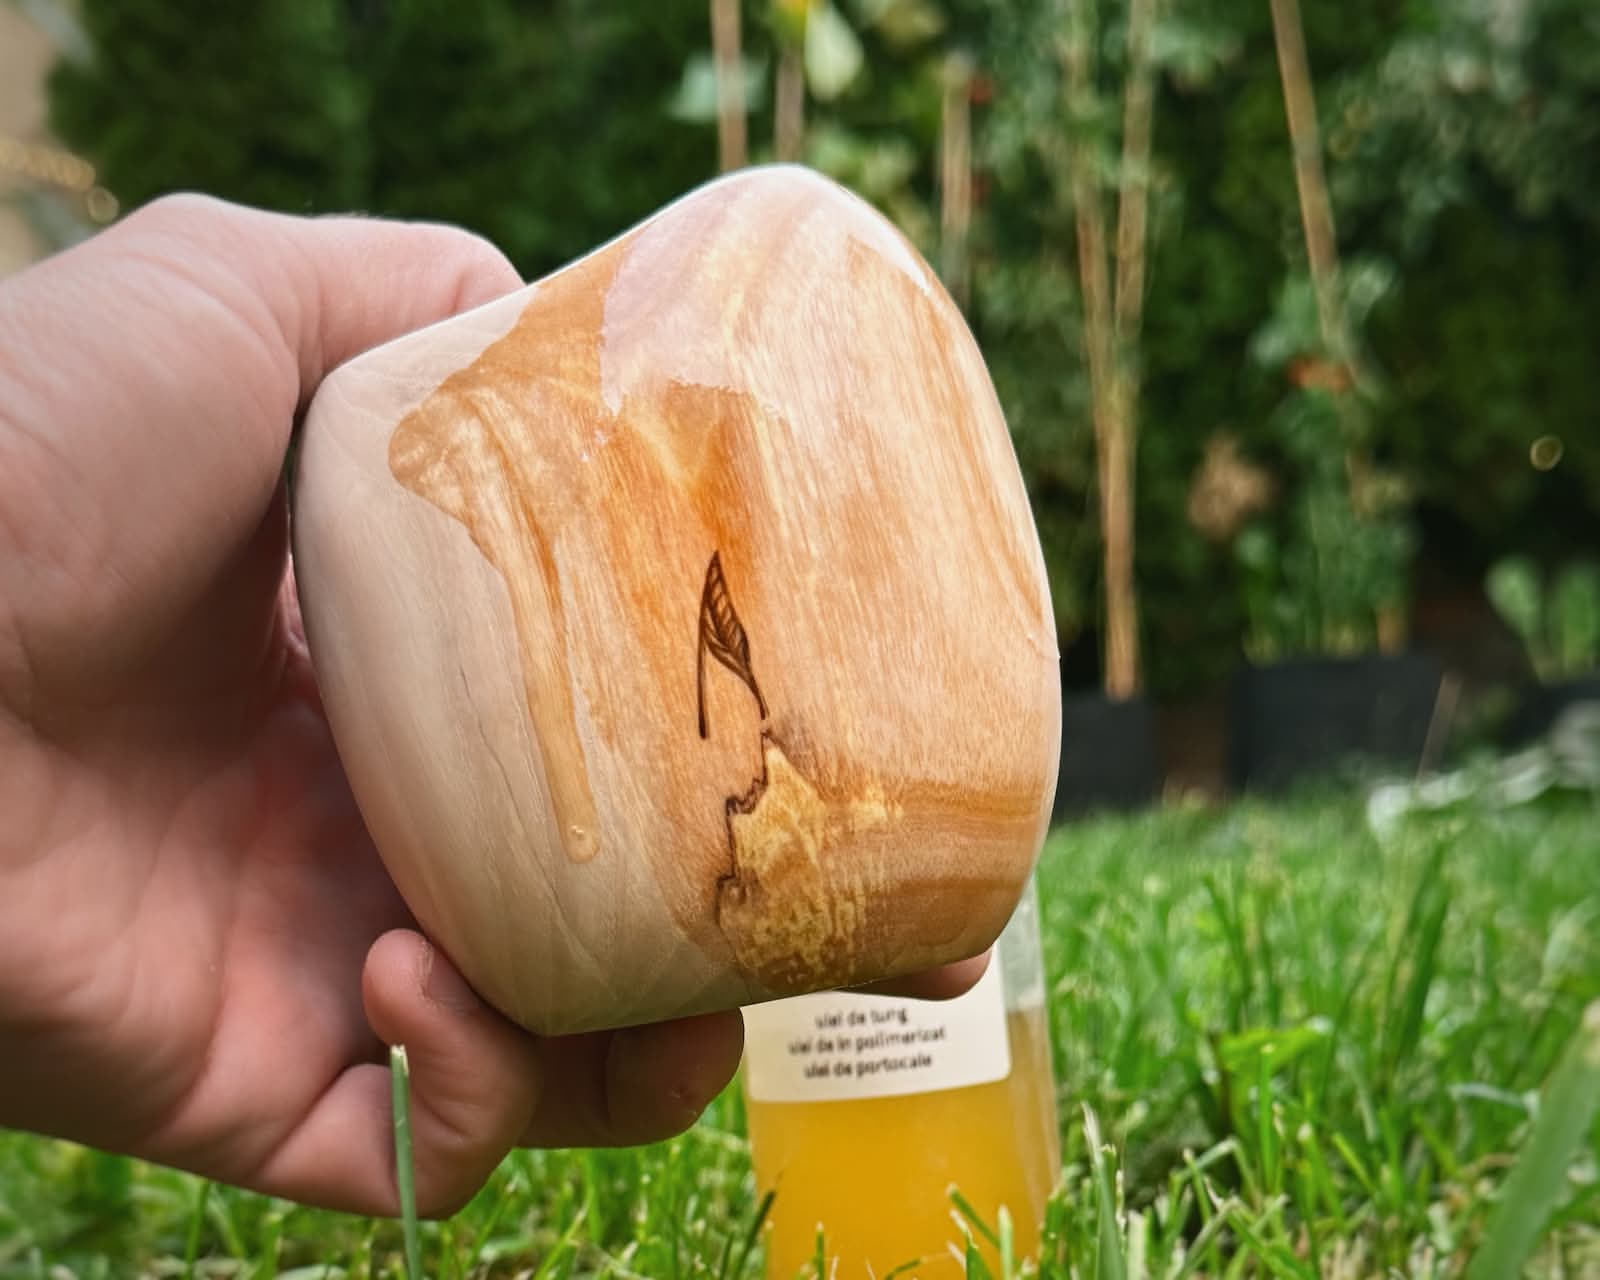
My experiments started simple, with melting about 10g of carnauba wax flakes into 40g of pure tung oil.
Most people recommend a double-boiler or bain-marie approach to melting the wax. That’s because the heat source would be a container of boiling water which can never get above 100℃ (212°F), a safe temperature to avoid reaching the flash point of these oils.
I just drop a spoonful of carnauba flakes into a glass jar of tung oil and place it in the microwave for a minute until everything becomes liquid.
For small quantities, the microwave works wonders, and there’s no danger of overheating the oil or gelifying it because it cools off rapidly.
# experiment #1
Ingredients:
- 40g pure tung oil
- 10g carnauba wax flakes
Process:
- pour the tung oil into a glass jar or ceramic container
- drop the carnauba wax flakes into the oil and stir to disperse the flakes
- place in the microwave for 30 seconds then stir again for a few seconds
- repeat until the wax melts and everything is liquid
- let it cool down until the mix is solid
Result:
Brittle paste that’s hard to scoop from the jar and apply on the wood. Doesn’t spread easily, feels sticky.
After the whole wood surface was covered and left for 10 minutes, the excess was wiped with a paper towel. After wiping, the finish is very matte, which means that not much of the wax remained, and the oil didn’t penetrate the fiber enough because of the consistency.
Smells nice though.
# Improving the consistency
The consistency changes a lot based on the oil-to-wax ratio.
Too much wax and the blend cools into a brittle paste that’s very hard to scoop from the jar. Too little and the blend is too liquid with not enough wax remaining on the wood surface to form a film. A 4:1 oil-to-wax ratio is good, having enough wax for the top layer, but in this simple formulation it is still too hard and brittle.
Instead of increasing the oil quantity which could defeat the purpose of the wax layer, I added a bit of beeswax to soften the blend.
This works, the paste becomes softer but it makes the top layer of wax not durable enough because of its lowered melting point, so I needed an alternative.
My idea is to have the wood absorb the tung oil from the blend while leaving the wax molecules on the wood surface. The wax should be soft enough to not create a glossy layer and not be brittle, but hard enough to protect the wood for the time it takes the tung oil to cure.
# experiment #2
Ingredients:
- 40g pure tung oil
- 7g carnauba wax flakes
- 2g beeswax
- 1g lanolin
To soften the blend without having to add too much beeswax, I found lanolin to be a good addition. It is a highly hydrophobic wax extracted from sheep wool that even in tiny amounts can make the paste consistency softer and easier to apply.
Process:
Similar to #1, just immerse the waxes into the oil in a glass jar and microwave in increments of 30 seconds until everything is liquid. Leave to cool until solid.
Result:
Softer and more homogenous paste that can be scooped easily from the jar with a finger or rag. Spreads relatively easy onto the wood surface, feels like a more viscous hand cream.
Smells amazing, nutty, vanilla and honey scent, faint enough to not bother anyone.
After covering the whole wood surface, I used a heat gun to liquify the finish and enhance wood fiber penetration. The paste melts very easily and the oil in it gets absorbed quickly in the wood pores, leaving the wax to solidify.
After the wood has cooled, I applied another layer because it seemed that some parts of the wood had little to no wax remaining. I removed the excess with a paper towel and buffed the wax to a satin look.
# small issues
# curing speed
This finish is not fast curing by any means. It is fast drying, as the oil gets absorbed and the wax on top solidifies into a very thin medium-hard layer.
But the melting point of the wax is about 75℃ (167°F) so still not perfect for very hot liquids. You definitely can’t brew your tea directly into a cup finished this way, not until the oil cures completely after 2-4 weeks.
I tested it by brewing a cup of espresso which seems to be fine, the temperature of the coffee is far below 75℃ (167°F) when it reaches the cup.
Using a spoon for eating soup also works fine, because the soup needs to be below 45℃ (113°F) for me to be able to eat it.
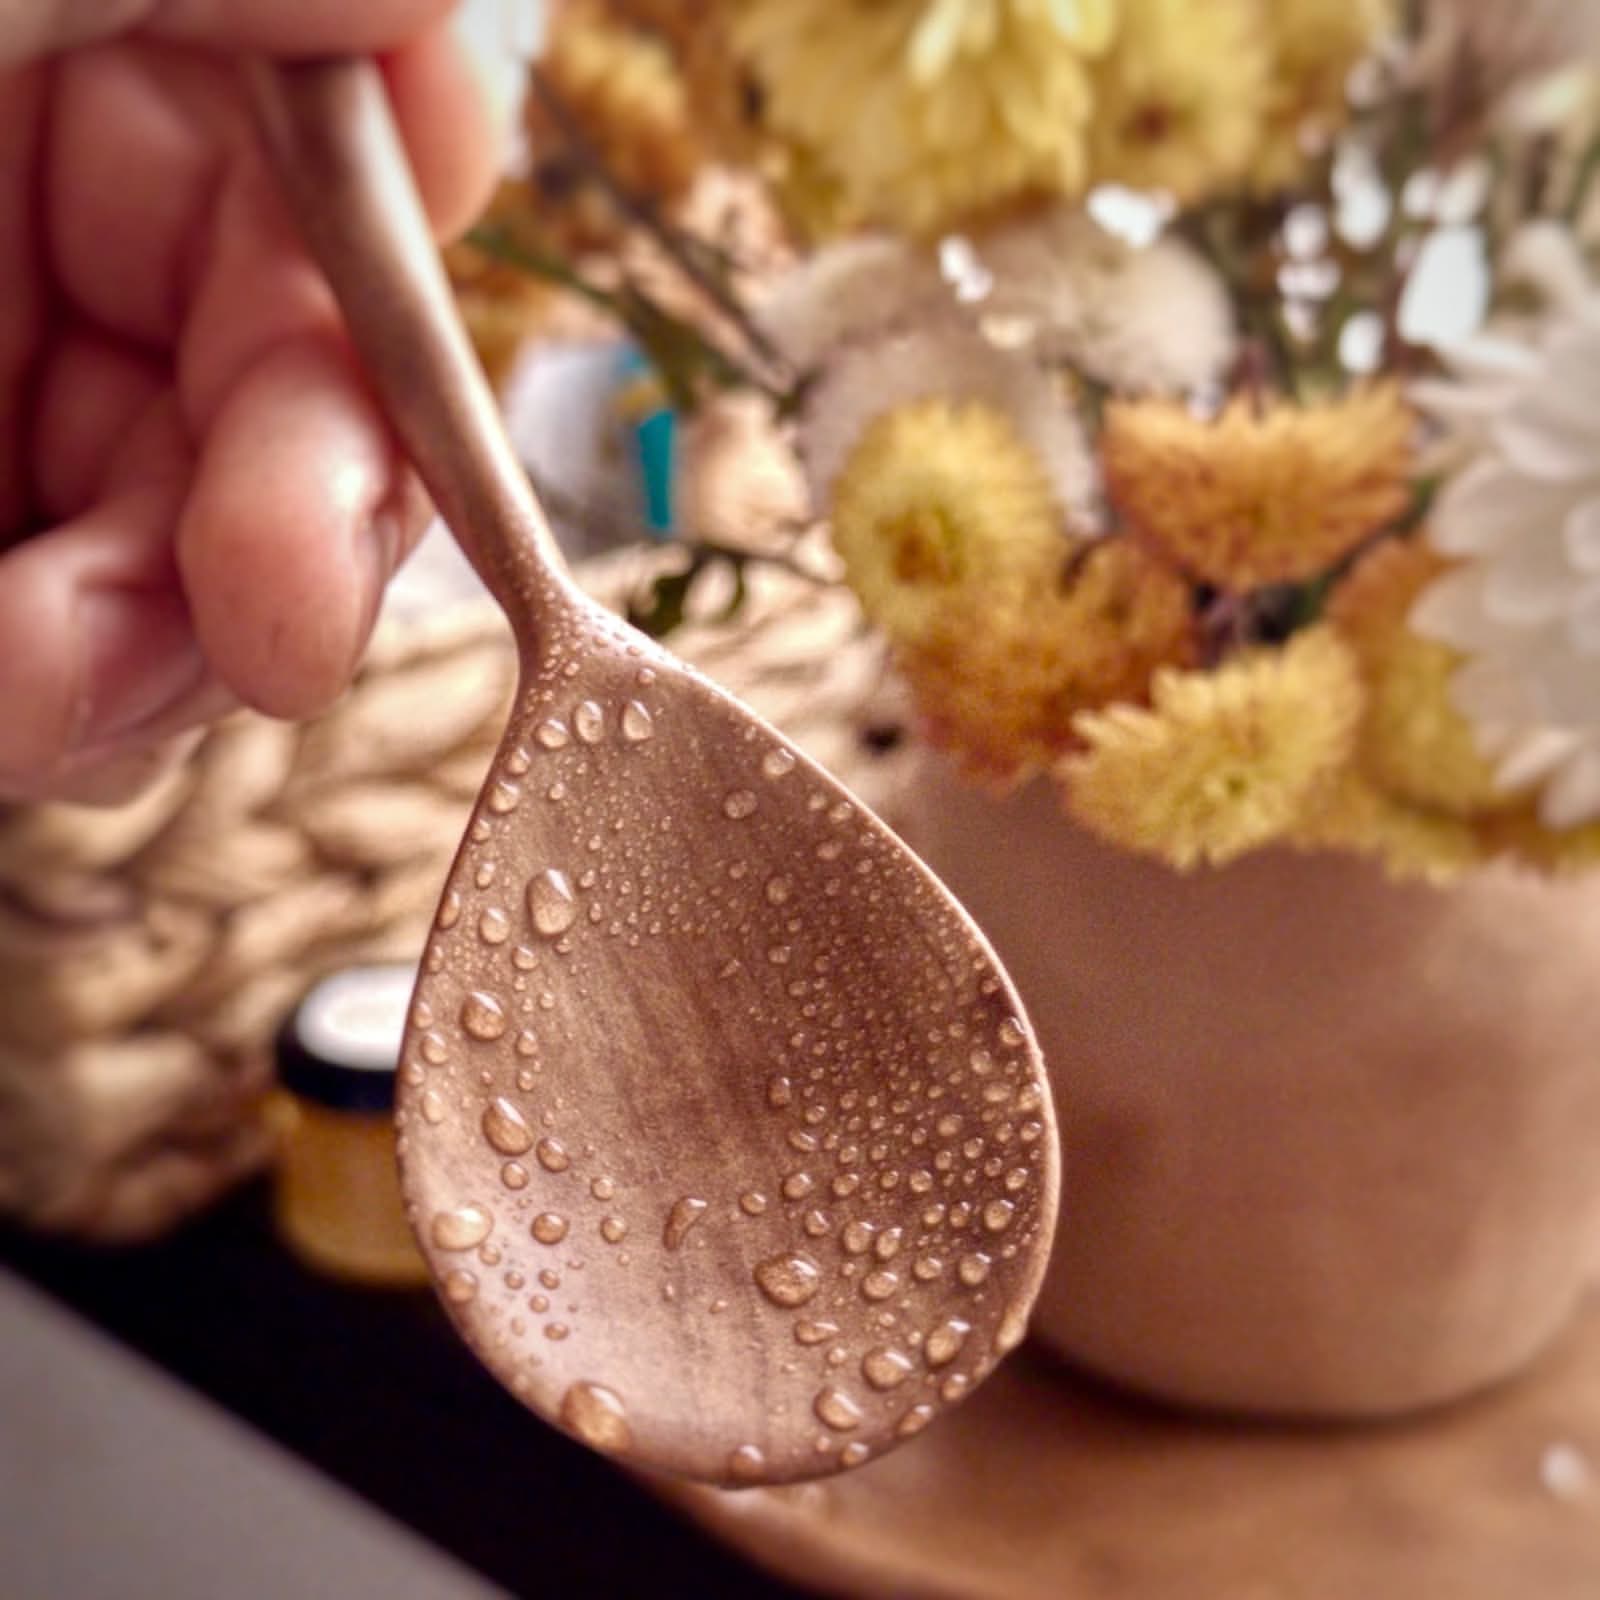

After usage, the wooden spoon and cup could be easily washed with warm water and soap, the wood didn’t stain at all. The wax still worked as I could see the water droplets sliding off the wood.
# sheen and appearance
Visually, it doesn’t leave a very strong sheen. It has a soft waxy look, instead of the shimmer of oiled wood.
That’s because wax doesn’t follow the micro porous surface of the wood, it solidifies into a smooth surface. So instead of scattering light you get mirror-like reflections creating that glossy wax look.
Commercial finishes use flattening agents like fumed silica to get around this, but I’m trying to use as little additives as possible for now.
The look also comes from the carnauba wax being softened by the beeswax and lanolin which also translates into a softer top layer.
# natural resins
The woodworking world has moved on almost completely from natural resins. Almost every finish is either based on polyurethane or epoxy resin if you’re looking for a harder top layer. At best, you’re looking at a shellac layer which doesn’t mix with oils.
Thankfully oil painting forums and blogs still have a trove of information on tree resins, drying oils and siccatives.
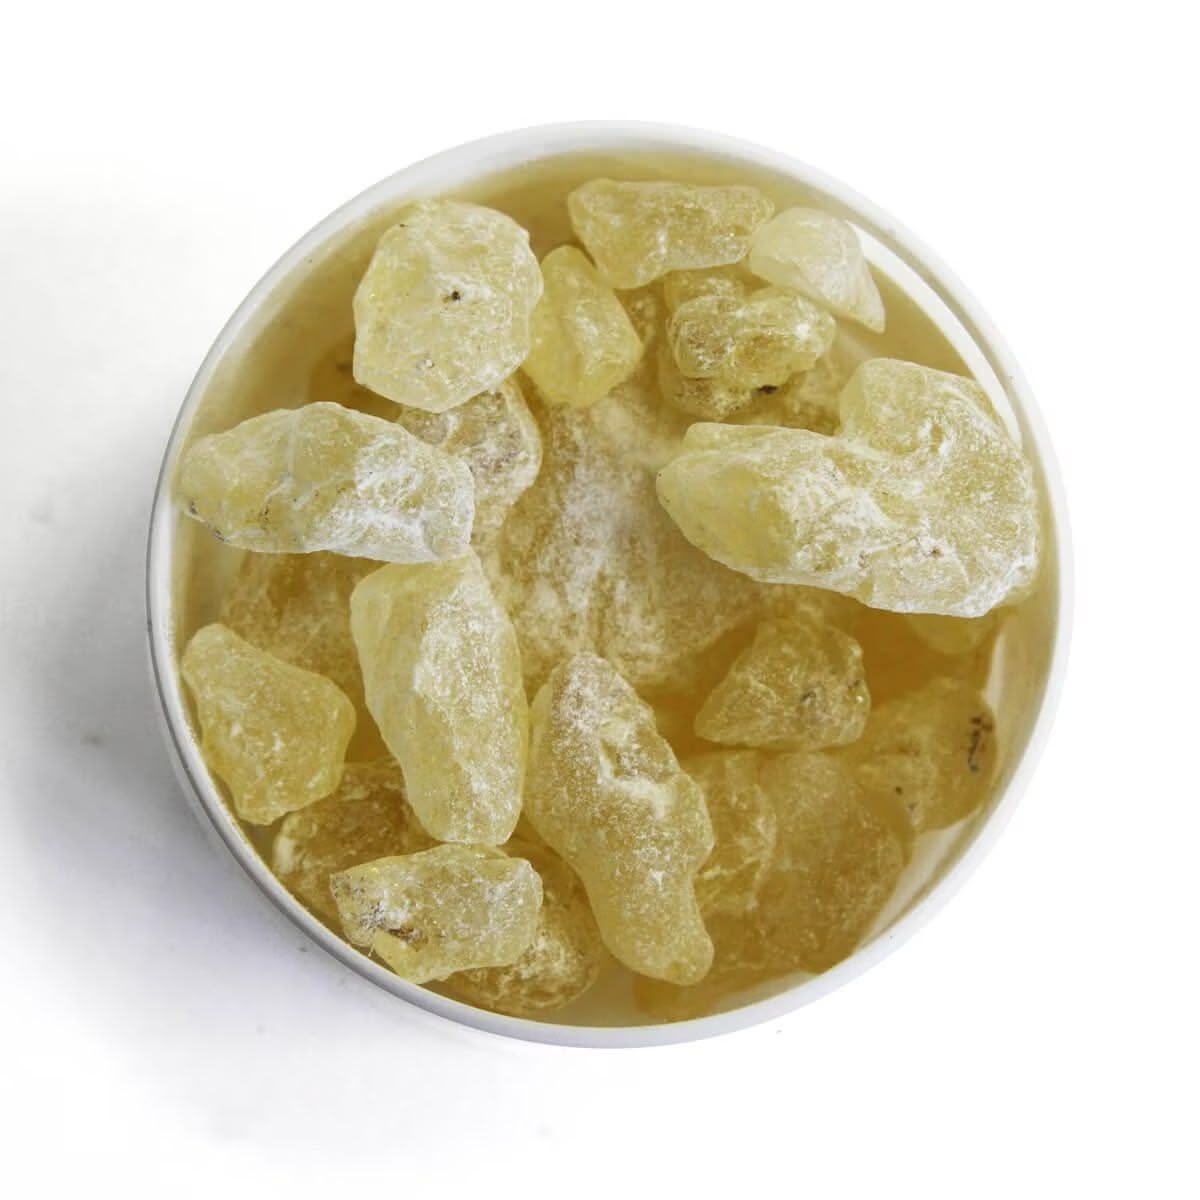
That’s how I found out about damar resin, a semi-hard resin extracted from Dipterocarpaceae trees growing in southeast Asia. It is a clear resin, melts at about 120℃ (248°F) which is easily attainable in a microwave, and has a bit of flexibility so that it doesn’t create a cracking layer on wood.
It can be found in the form of crystals or pellets in art shops and it’s pretty cheap. People dissolve it in turpentine to create varnishes, but I wanted to incorporate it into my oil-wax blend through heat instead of solvents.
# experiment #3
Ingredients:
- 50g pure tung oil
- 10g carnauba wax flakes
- 2g beeswax
- 2g lanolin
- 3g damar resin
- 5g coconut oil
- 2 drops of MnZrCa drier
- 2 drops of vitamin E
To increase sheen and make the top layer stronger, I melted damar resin crystals directly into oil, without any solvent. I also added a very small amount of manganese, zirconium and calcium drier to make the curing faster, and some vitamin E to increase shelf life.
Process:
Add the carnauba wax, beeswax and lanolin into the tung oil in a glass jar and microwave in increments of 30 seconds until everything is liquid.
Add the damar resin crystals into the coconut oil and microwave in increments of 10 seconds until everything is liquid. Let the mix cool down for about 30 seconds then add the drops of MnZrCa drier and vitamin E. Stir until the mix is homogenous.
Pour the damar resin-oil blend into the tung oil blend and stir until homogenous. Let cool down until solid.
Result:
Medium-soft paste that can be scooped relatively easily from the jar with a finger or rag. Spreads easy enough onto the wood surface.
Smells the same as the last experiment: nutty, vanilla and honey scent, faint enough to not bother anyone. The nasty smell of the drier doesn’t transfer into the blend because its quantity is too small. The resin has no smell in its solid form.
After covering the whole wood surface, I used a heat gun to liquify the finish and enhance wood fiber penetration. The paste melts very easily and the oil in it gets absorbed quickly in the wood pores, leaving the wax and resin to solidify into a very thin layer on top.
After that there was almost no excess left and I buffed the top layer to a satin look using a paper towel.
Curing:
The tung oil inside the wood cured in about 48 hours.
This can be verified by melting the wax layer with a heat gun then removing the liquid wax with a rag. The bare wood then can be sanded with 240 grit to check if the wood dust falls off easily. If the wood dust seems wet and gums on the sandpaper, the oil is still not completely cured.
Look:
The satin sheen looks better because of the resin. Regions with medullary rays look wavy and move in the light, regions with straight fibers look exactly between glossy and matte.
Osmo Polyx Oil still has a prettier shimmer that this finish doesn’t achieve, I’ll look into adding trace amounts of fumed silica to see if it makes the finish settle better into the wood fiber microstructure and scatter light instead of being more on the smooth glossy side.
The fumed silica might also help with adding shear thinning capability so that the paste is even easier to scoop from the jar without softening it.
# notes on added ingredients
# metallic driers
The metallic driers are probably the first thing that jump out, because we always read about how bad they are when seeing people talk about natural wood finishes. Not all driers are bad, and it depends on things like quantity, leaching probability and type of metal used.
Sure, lead and cobalt driers are out of the question, I don’t want them anywhere near my food and beverages no matter how small the risk of leaching. They contain heavy metals that can have catastrophic effects if they accumulate in your body.
I use a drier containing manganese neodecanoate to speed up surface-drying, and zirconium and calcium salts for through-drying.
Zirconium and calcium are known to be safe. Zirconium is the same metal that dental implants are usually made of, even ceramic knives are made using zirconium, it seems to be a pretty inert metal when it comes to contact with our body.
Manganese is toxic if inhaled or ingested in high amounts, but the quantity of manganese in 2 drops of drier is so incredibly low you could take them orally and not feel any effect other than the horrible solvent taste. That, combined with the fact that the drier disperses throughout the oil makes the quantity too low to matter.
The strictest Tolerable Upper Intake Level for manganese is set to 8 mg/day. In fact we get some of that quantity daily through food that is enriched with vitamins and minerals. If the drier were to ever leach completely from the finish, one would get less than 0.1mg per lifetime of object.
You’d probably have to eat the spoon completely for that to happen, in which case the quantity of ingested wood might become more of a problem.
But the whole food-safe standard on drier based finishes is actually based on the fact that a cured finish traps that metal into an inert polymer which can’t leach into food. Just like Teflon pans or aluminum and copper pots, everything is safe until the layer chips off somehow.
I compromised on having a quantity small enough to not pose any safety risk and that wouldn’t shorten shelf life by making the oil cure inside the jar, but high enough to make the oil cure in 48 hours instead of 2-4 weeks. This, in my opinion, makes the finish safer by being more predictable in curing time, and minimizing the probability of food contacting uncured tung oil.
# coconut oil and vitamin E
Because damar resin melts at 120℃ (248°F), tung oil is not suitable for melting the resin directly into it because tung oil can gelify at high temperatures, hindering its curing capabilities. That’s why I melt the resin crystals in a small amount of coconut oil, which has a high enough smoking point of 180℃ (356°F), smells amazing and doesn’t go rancid easily.
I added 2 drops of vitamin E (aka tocopherol) because it is a powerful antioxidant and will lower the chance of ingredients like coconut oil going rancid. It can also lower the chance of the tung oil curing inside the container by inhibiting the autoxidation reaction.
This is the current formulation that I’m using for finishing my wooden spoons and cups, and which I’m selling on my online shop in Romania.
# Comparison video
In the following video, I applied the 3 experiments on some plum wood blanks, sanded to 600 grit and water popped 3 times.
In total I had 7 blanks:
- experiment #1
- experiment #2
- experiment #3
- unfinished wood
- Osmo Polyx Oil
- raw tung oil
- raw tung oil with drier
After applying the finishes, I left them for 24 hours to cure indoors at 22℃ (72°F) at 50% humidity, then sprayed them with water to see how the water beaded up on the surface.
# Conclusions:
Osmo Polyx still creates the highest sheen, but felt a bit too glossy on this specific wood, not sure why. I actually liked the damar resin and drier blend the most.
Osmo contains titanium dioxide to whiten the finish a bit, and it also contains more refined oils, so the wood colors looked less saturated. I guess that’s good if you want to keep a light wood from getting a yellow tint, but on my spoons and cups I very rarely need that, so I like the colour imparted by the tung oil.
Water beaded up on all finished blanks and was absorbed by the unfinished wood instantly as expected. Osmo and our #3 blend had the largest water beads.
After cleaning up the water with a paper towel and letting the wood dry, the first two blends lost their sheen and colour almost completely and felt less smooth to the touch. The damar resin and drier really did their job in the third blend.
The tung oil only blank felt the roughest after drying, the oil only created a very weak hydrophobic layer because it couldn’t cure after 24 hours. The blank with the drier added felt smoother, but still absorbed a bit of water. It needed more layers and more time to get full fiber saturation.
# experiment #4
to be continued…
- Posted on:
- December 8, 2025
- Length:
- 19 minute read, 3955 words
- Categories:
- Wood
- Series:
- Woodworking
- Tags:
- wood